Use waterproof fabric, strong seams, and sturdy straps to build a safe DIY roof bag.
If you want a reliable guide on how to make roof bags for cars, you’re in the right place. I’ve built and tested DIY cargo bags for road trips and camping, and I’ll show you how to do it step by step. We’ll cover materials, sizing, seams, waterproofing, and safe mounting. By the end, you’ll know exactly how to make roof bags for cars that are tough, weatherproof, and road-ready.

Tools and Materials You’ll Need
Building a roof bag is simple when you start with the right gear. Think light, tough, and waterproof.
Materials
- Fabric: 18–22 oz PVC-coated polyester or truck tarp. It is waterproof and easy to weld. Heavy-duty 600D PVC-coated polyester works too.
- Alternative fabric: 500D–1000D Cordura nylon with PU coating. Use seam sealer if you sew it.
- Liner: Non-slip rubber mat or yoga mat for the base. It protects paint and adds grip.
- Zippers: Heavy-duty, water-resistant zipper like YKK Aquaguard. Size 8 or 10 is best.
- Webbing: 1-inch or 1.5-inch polyester webbing for straps. Polyester stretches less than nylon when wet.
- Buckles: Cam buckles or metal ladder locks. Avoid plastic cheap buckles for roof straps.
- Thread: UV-resistant bonded polyester thread, size T70 or T92.
- Sealants: Seam sealer for nylon, PVC seam tape for PVC fabrics, and marine adhesive for reinforcement patches.
- Extras: D-rings, grommets, reflective tape, and corner protectors.
Tools
- Cutting tools: Sharp utility knife or fabric scissors, hot knife if you have one.
- Measuring tools: Tape measure, square, chalk or silver marker.
- Sewing gear: Heavy-duty machine with size 18–20 needles, or
- Heat welding gear: Hot air gun with roller for PVC welding.
- Clamps and clips: Binder clips work well for thick fabric.
- Hole punch and grommet kit for tie-down points.

Source: youtube.com
Plan Your Size, Weight, and Shape
Good planning saves time and keeps the bag safe on the road. Start with your car and rack.
Key steps
- Check car roof load rating. Most cars allow 100–165 pounds total, including the rack and bag. Do not exceed this limit.
- Measure roof space. Length between crossbars, width between rails, and any antenna or sunroof clearance.
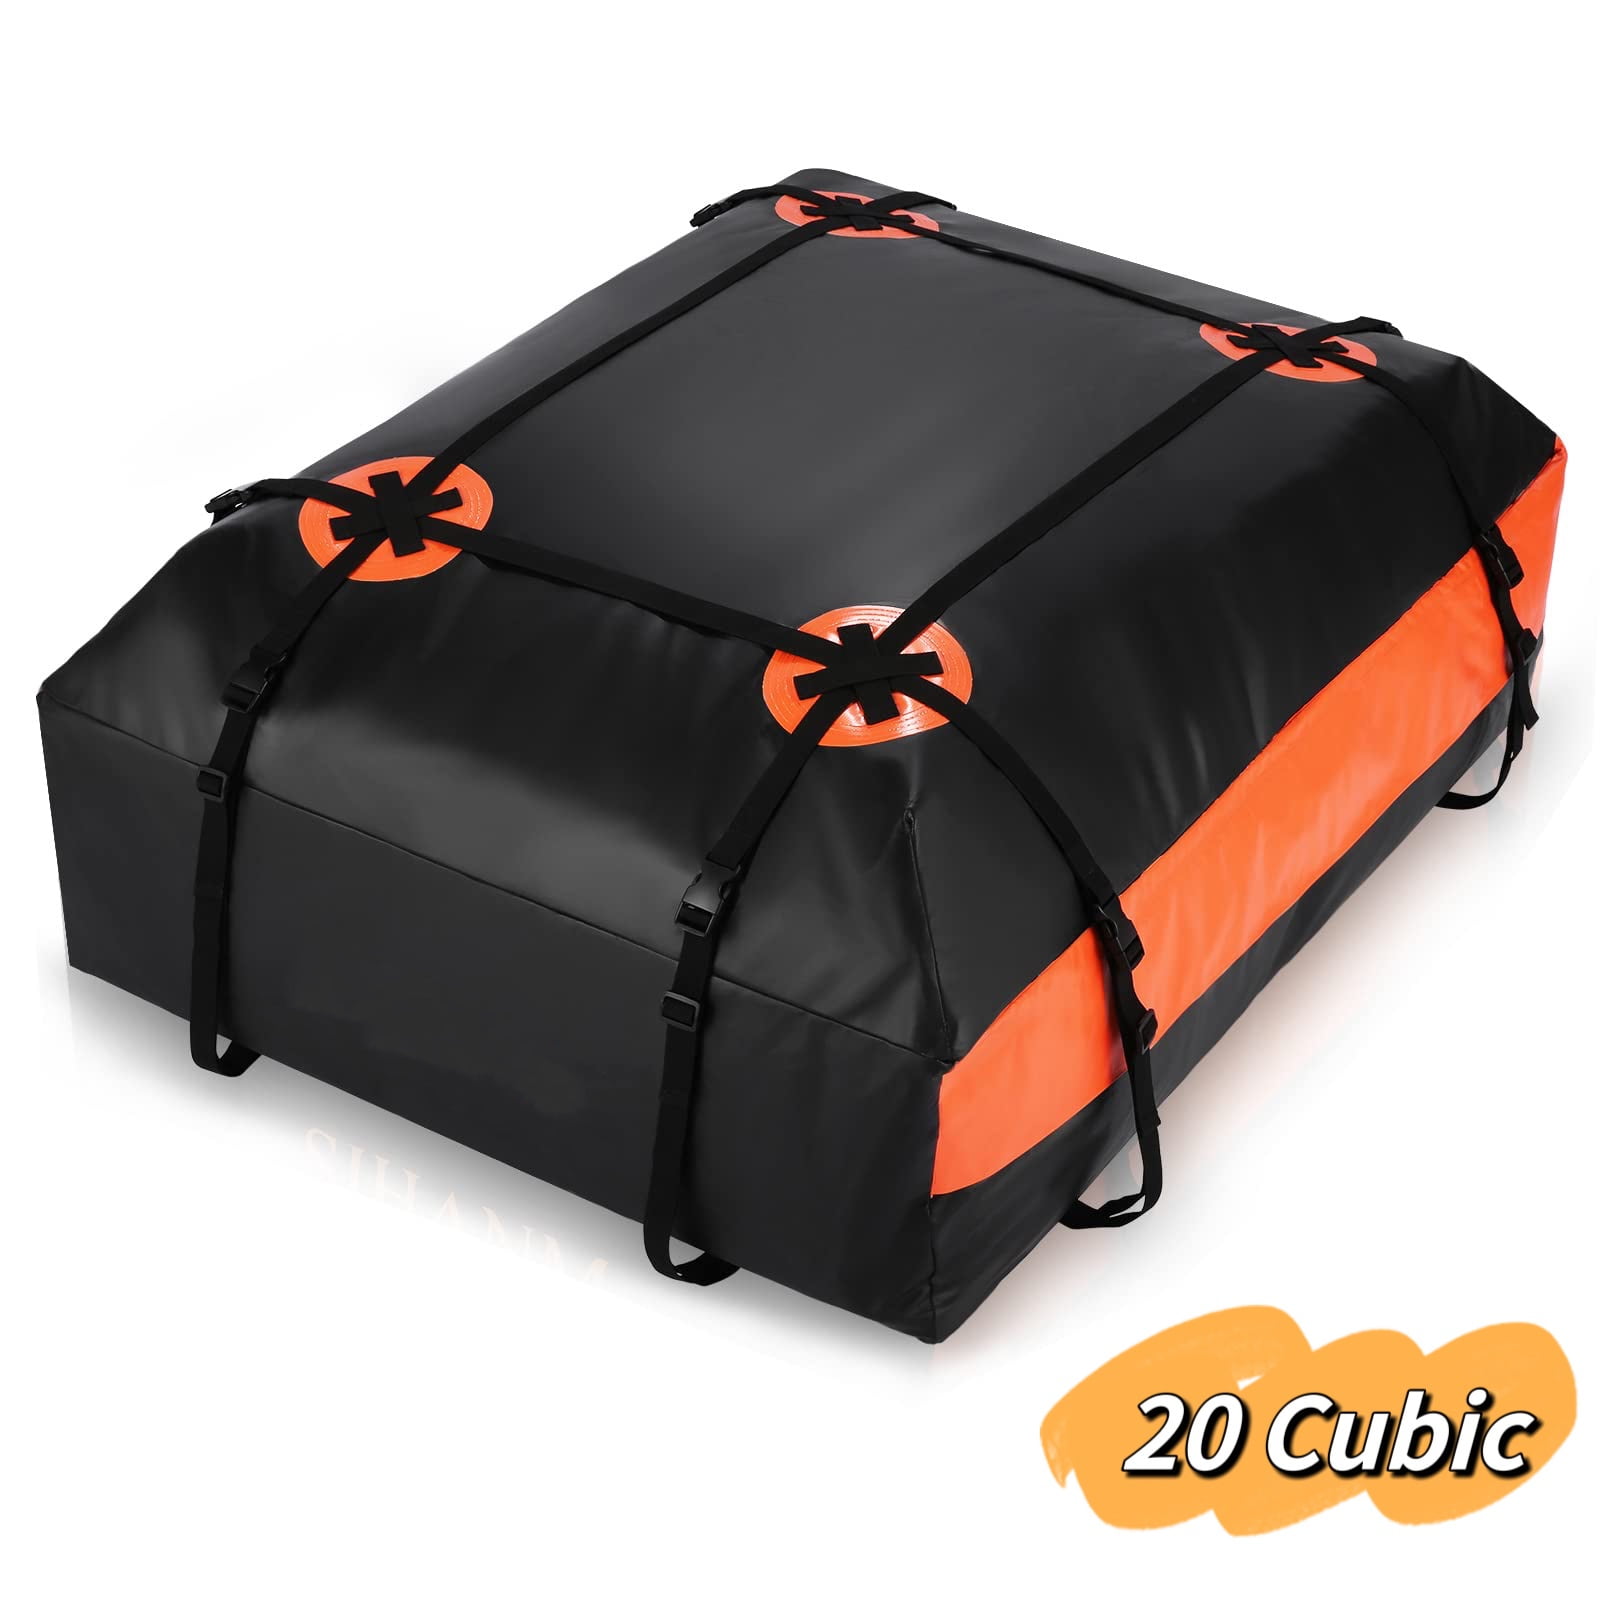
- Choose a capacity. 10–18 cubic feet fits most cars. 18–22 cubic feet fits SUVs.
- Shape for airflow. A wedge shape, low in front and higher in back, cuts wind noise and drag.
- Think about access. A U-shaped zipper opening is easy to pack and seal.
Pro tip
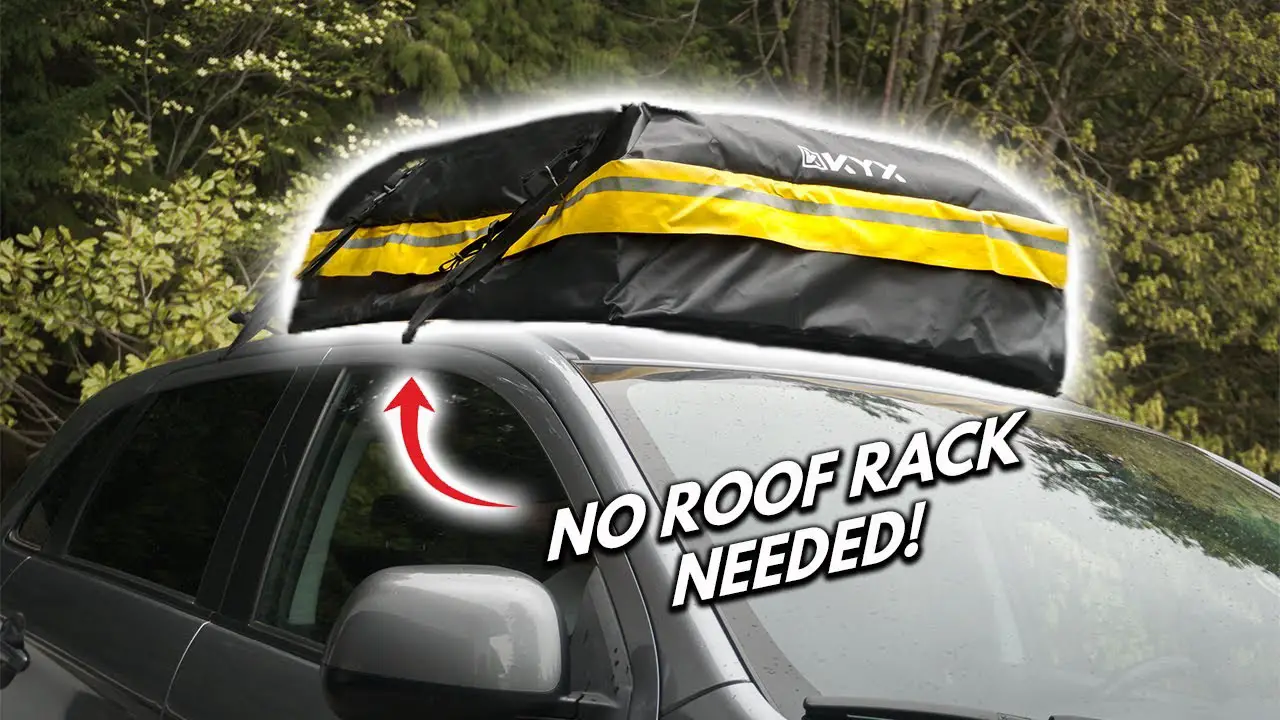
- If you do not have crossbars, design a smaller, flatter bag with a wide base and non-slip mat. Straps must go through the car’s door frames, never through windows.
Use this section to decide how to make roof bags for cars that match your car and trip needs.
Source: co.th
Draft a Simple Pattern
A clean pattern makes assembly easy and repeatable. Work on a clean floor or large table.
Pattern pieces
- Base panel: Size equals your roof space. Add 2 inches extra all around for seams.
- Side panels: Four rectangles that match the base edges. Add seam allowance on each edge.
- Lid/top panel: Same as base, plus a 2–3 inch overhang for a better rain flap.
- Rain flap strip: Long strip to cover the zipper by at least 1 inch on each side.
- Reinforcement patches: Small squares for strap anchor points and corners.
Layout tips
- Mark center lines on base and lid for alignment.
- Round corners slightly to avoid fabric stress points.
- Plan a wedge by making the front side panel shorter than the rear panel by 2–3 inches.
If you think about how to make roof bags for cars with repeatable results, a paper or cardboard template helps future builds.
Source: audew.com
Sewing vs Heat Welding: Pick Your Method
Both methods can work. Choose based on your fabric and tools.
Sewing
- Use a walking-foot machine if possible.
- Double stitch high-stress seams.
- Fold a flat-felled or lap seam for strength and better water resistance.
- Seal all seams with seam sealer or seam tape after sewing.
Heat welding (for PVC-coated fabrics)
- Use a hot air gun with a roller to fuse seams.
- Overlap panels by 1 inch.
- Roll slowly and apply even heat until the PVC melts and bonds.
- Test on scrap to learn your heat settings.
If you are new to how to make roof bags for cars, sewing is more forgiving. Welding is more waterproof but needs practice.

Source: buyroofpax.com
Waterproofing and Weather Protection
Your goal is to keep rain and road spray out, even at highway speed.
Smart choices
- Use a water-resistant zipper and cover it with a wide rain flap.
- Seal every seam. Use seam tape for welded PVC, seam sealer for nylon or polyester bags.
- Add a storm lip. Create an inner gutter by stitching a narrow strip inside the zipper path.
- Protect corners. Add patches on all inside corners to prevent wear and leaks.
- Finish edges. Use binding tape or fold-and-stitch to keep fraying out.
Extra protection
- Spray-on DWR for nylon fabrics improves water beading.
- Add reflective tape for night safety.
- Place a trash bag or dry bag liner inside for double protection on long trips.

Source: amazon.com
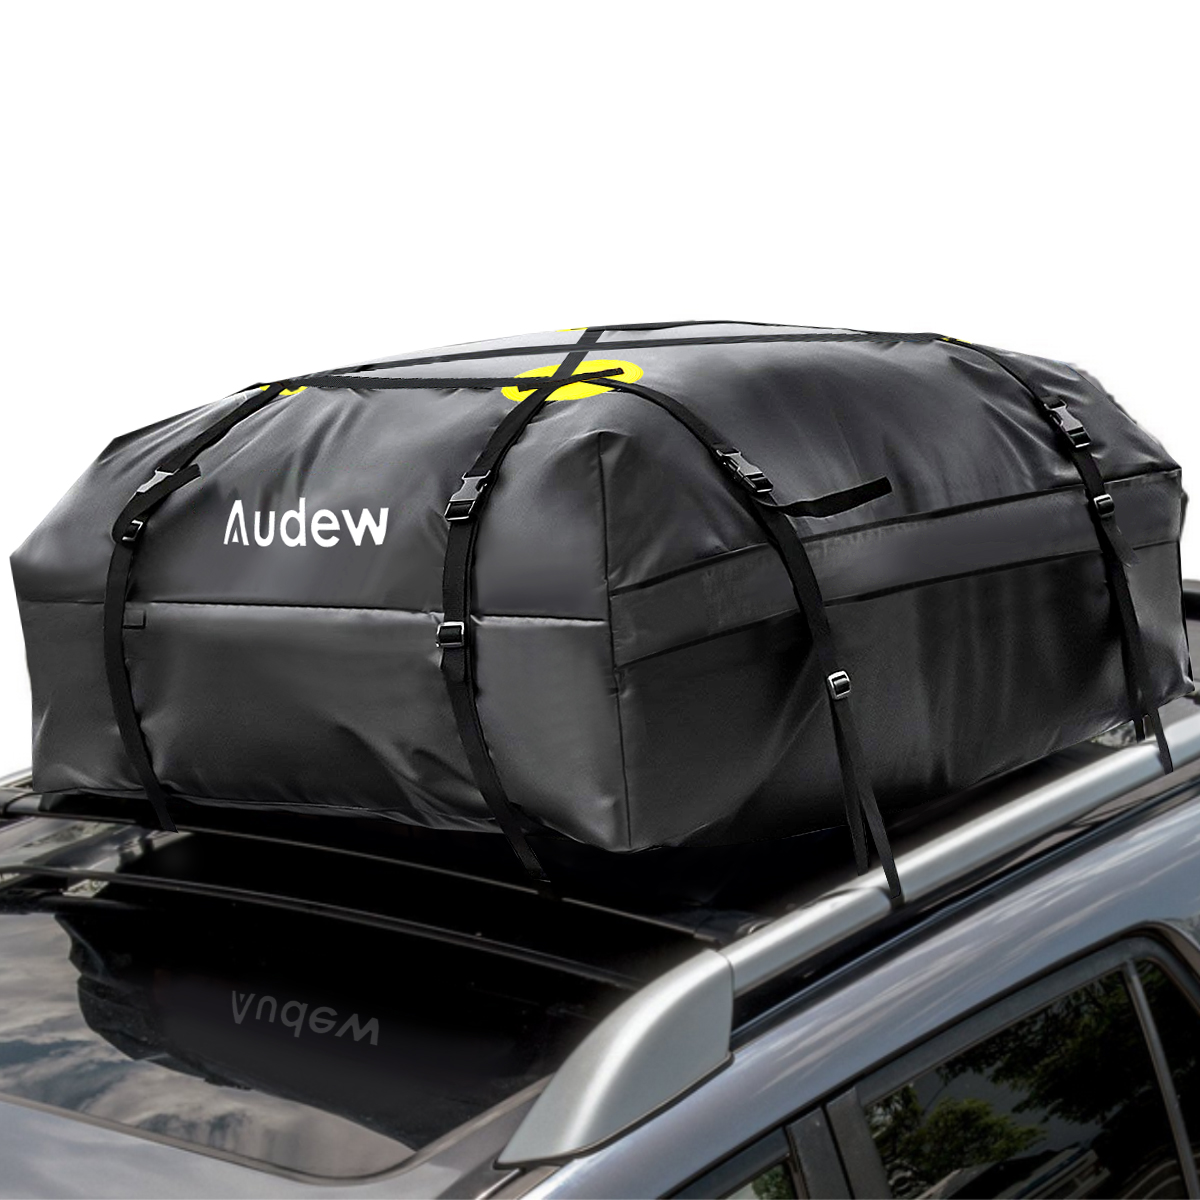
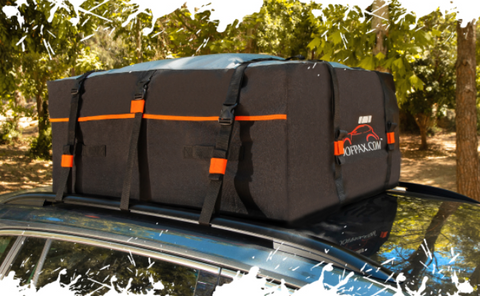
Straps, Anchors, and Base Protection
Your bag is only as safe as its anchors. Build redundancy into your tie-down system.
Strap plan
- Use at least four primary straps that pass over the bag and down to the rack.
- Add two secondary straps for fore and aft stability.
- Sew box-and-cross patterns where webbing meets the bag.
- Reinforce anchor points with extra fabric patches.
Anchor options
- Sew webbing loops into the bag seams.
- Add D-rings or grommets on reinforced patches.
- Avoid only relying on side grommets for load-bearing. Combine loops and over-the-top straps.
Base protection
- Glue or sew a rubber mat to the bottom panel.
- Add skid strips under high-wear zones.
- Make sure nothing abrasive can touch the roof paint.
This is a big part of how to make roof bags for cars that stay put in crosswinds.

Source: com.br
Step-by-Step Build Guide
Follow these steps to assemble your bag with confidence.
- Cut all panels. Label base, sides, lid, flap, and patches.
- Add reinforcement patches on the inside where straps will attach.
- Attach the zipper to the lid and front side panel. Add the rain flap above it.
- Join side panels to the base using lap seams or welded overlaps.
- Close side corners. Use double stitching or full-length welds.
- Attach the lid to the sides, leaving the zipper area open as planned.
- Install webbing loops and D-rings at anchor points.
- Seal all seams with seam sealer or seam tape.
- Add binding to raw edges if needed.
- Fit test on your car. Mark final strap lengths.
- Add strap adjusters and buckles. Trim and heat-seal webbing ends.
- Water test with a garden hose. Fix any leaks with extra sealant or patches.
If you are learning how to make roof bags for cars for the first time, expect one or two small leaks. They are easy to patch.
Source: buyroofpax.com
Fitment, Load, and Safety Checks
Before you hit the road, run through this safety list.
Pre-trip checklist
- Check roof load limit and weigh your gear. Stay under the limit.
- Distribute weight evenly, heavy items in the center and low.
- Tighten straps, then tie off loose ends.
- Check zipper pulls and cover them under the flap.
On-road habits
- Recheck straps after 10 miles, then every fuel stop.
- Listen for flapping. Noise often means a loose strap or air gap.
- Keep speeds moderate in strong wind or heavy rain.
Evidence and best practices suggest that proper load management reduces sway and improves fuel economy. Safe habits are part of how to make roof bags for cars that hold up over time.

Source: ebay.com
Packing, Mounting, and Driving Tips
Packing smart helps your bag ride smooth and quiet.
Packing tips
- Use soft items to fill corners. Put hard edges in the center.
- Use small dry bags for groups of items.
- Leave a little space so the zipper is not under tension.
Mounting tips
- Place a non-slip mat under the bag.
- Route straps around crossbars or through factory rails.
- Avoid routing straps through open windows. Use door frame anchor points if you lack a rack.
Driving tips
- Avoid sudden lane changes at high speeds.
- Watch fuel economy. A lower profile and snug straps help a lot.
- Take the bag off if you do not need it. It saves gas and reduces wear.
Cost, Time, and Common Mistakes
Plan your build with realistic expectations.
Typical costs
- Fabric and hardware: 60–150 dollars depending on size and quality.
- Tools and extras: 20–60 dollars if you already have a sewing machine.
Time
- Pattern and cutting: 1–2 hours.
- Assembly and sealing: 3–6 hours.
- Testing and tweaks: 1 hour.
Common mistakes to avoid
- Using cotton thread. It rots. Use bonded polyester.
- Skipping seam sealing. Even tiny seams leak at highway speed.
- Thin webbing or weak buckles. They can fail in wind.
- Overloading the roof. Respect the car’s limit.
- Sharp items without padding. They cause wear holes.
These lessons came from my early builds. I learned how to make roof bags for cars that last by fixing each of these mistakes.
Maintenance, Repairs, and Storage
A little care gives your bag a long life.
After each trip
- Rinse off dust and road salt with fresh water.
- Dry fully before storage to prevent mildew.</li>
Repairs
- Patch small holes with matching fabric and adhesive.
- Restitch or re-weld seams that show wear.
- Replace worn buckles right away.
Storage
- Store loosely rolled, not folded tight.
- Keep away from sunlight and heat.
- Dust the zipper with silicone-safe lube for smooth action.
Legal, Warranty, and Insurance Notes
It pays to know the rules before you roll.
What to check
- Vehicle manual for roof load rating and rack rules.
- Local laws on overhangs and obstructed view.
- Warranty terms. A DIY bag is fine, but damage from misuse may not be covered.
- Insurance. Keep photos of your setup and receipts for materials.
Transparency matters when you learn how to make roof bags for cars. Be honest about the limits of your design and drive within them.
Frequently Asked Questions of how to make roof bags for cars
What fabric is best for a DIY roof bag?
PVC-coated polyester tarp is the most forgiving and waterproof. Cordura nylon works too, but you must seal seams well.
Can I build one without a sewing machine?
Yes, if you use PVC and heat-weld seams with a hot air gun. You still need to practice on scraps to set the right heat.
How do I keep water out of the zipper?
Use a water-resistant zipper and cover it with a wide rain flap. Add an inner storm lip if you drive in heavy rain often.
Will straps through the door frames damage the car?
If placed over a soft protector and tightened gently, they are fine. Do not pinch the rubber seal too hard, and check for leaks in rain.
How big should my roof bag be?
Most cars do well with 10–18 cubic feet. Measure your roof and crossbars, and keep the bag within the roof load limit.
Can I leave the roof bag on the car all the time?
You can, but it will weather faster and hurt fuel economy. It is better to remove it between trips.
How does a DIY bag compare to store-bought ones?
A good DIY bag can be just as tough and waterproof, often at half the cost. The trade-off is build time and dialing in your first design.
Conclusion
You now have a full roadmap for how to make roof bags for cars that are safe, waterproof, and built for real trips. Plan your size, choose the right fabric, seal every seam, and anchor with strong straps. Test, tweak, and you will have a bag you trust in any weather.
Ready to build yours? Gather your materials, follow the steps, and share your first trip story. If this helped, subscribe for more DIY car gear guides or leave a comment with your questions.

James Carter is an automotive blogger, reviewer, and technology enthusiast based in the USA. With a deep passion for cars and years of experience following the automotive industry, James focuses on delivering honest, well-researched content that helps readers make smarter decisions.