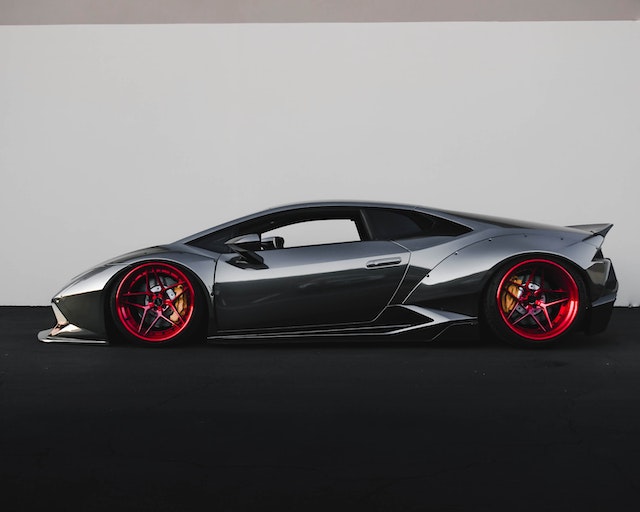
Plasti dipping a car is a simple and inexpensive way to change its appearance without committing to a permanent paint job. Let’s learn how to plasti dip car.
These are the steps that we are going to follow:
- Gather some tools and materials.
- Prepare the car for a plastic dip.
- Apply the plastic dip.
- Remove the plastic dip.
- Add a clear coat.
- Finish up the plastic dip.
- Cure the plastic dip.
- Clean and maintain the plastic dip.
How to Plasti Dip Car
Gather some tools and materials.

- Plastic Dip spray
- Masking tape
- Plastic sheeting
- Sandpaper
- Degreaser
- Microfiber towels
- Respirator mask
- Gloves
Prepare the car for plasti dip.

Clean the car, and wash the car thoroughly using car soap and water. This will remove any dirt, grime, or wax buildup that may interfere with the adhesion of the plastic Dip.
Dry the car, and use a clean microfiber towel to dry the car. Ensure that no moisture is left on the car’s surface.
Mask off any areas, and use masking tape and paper to cover any areas you do not want to be coated with plastic Dip. This includes the windows, trim, and any other car parts you do not want to be covered.
Sand the car; use fine-grit sandpaper (around 400 grit) to sand the car’s surface lightly. This will create a rough surface for the plastic Dip to adhere to.
Clean the car again, and wipe the car down with a lint-free cloth and rubbing alcohol to remove any dust or residue from sanding.
Apply the plasti dip.

A plastic Dip is a rubber coating that can be applied to various surfaces, including cars, to protect the paint or change its appearance. Clean the surface: Thoroughly clean the car’s surface with soap and water to remove dirt or debris. Let it dry completely before moving on to the next step.
Mask off the areas: Use painter’s tape and plastic sheeting to mask off any areas you don’t want to coat, such as windows, headlights, and taillights.
Apply the first coat:
- Shake the can of Plastic Dip well and apply the first coat in a light, even coat.
- Keep the can about 6-8 inches away from the car’s surface and spray sweepingly.
- Let it dry for 30 minutes before applying the next coat.
Apply subsequent coats: Apply 3-4 more coats of Plastic Dip in the same manner, letting each coat dry for 30 minutes before applying the next.
Remove masking: Once the final coat is dry, carefully remove the painter’s tape and plastic sheeting from the car.
Let it dry: Allow the Plastic Dip to dry for at least 4 hours before touching or driving the car.
Remove the plastic dip.

Once the plastic dip has softened, use a plastic scraper or your fingernail to peel it off. Be careful not to scratch the surface underneath. If any residue is left behind, you can use a plastic dip remover or rubbing alcohol. Apply the remover to a clean cloth and rub the residue until it comes off.
Once you have removed the plastic dip and residue, clean the surface with soap and water or a cleaner that is safe for the material. Dry the surface completely before using it again.
Add a clear coat.

Allow the plastic dip to dry completely. Once the plastic dip is dry, you can apply a clear coat. Choose a clear coat that is compatible with the plastic dip.
Apply the clear coat to the car’s surface using a spray gun or a paintbrush.
Finish up the plastic dip.

Cure the plastic dip.

To cure the plastic dip, you can let it cure naturally, which can take up to 4 weeks.
Test the coating: Once the plastic dip is cured, scratch it with your fingernail or a sharp object. The coating is fully cured if it does not come off easily.
Clean and maintain the plastic dip.

Clean the surface regularly.
- Avoid using harsh chemicals.
- Protect from UV rays
- Avoid excessive heat
Expert Opinion
plastic Dip is a type of liquid rubber coating that can be applied to various surfaces, including cars, to provide various benefits. plasti Dip acts as a protective barrier against the elements, including UV rays, dirt, and debris, which can help to prevent damage to the car’s paint.
Dip can be used to change the color or finish of a car without the need for a full repaint. This can be an affordable and flexible option for car enthusiasts who want to experiment with different looks.
Plastic Dip is durable and can withstand regular wear and tear, including exposure to road salt, harsh weather conditions, and minor impacts.
Plastic Dip can be easily removed without damaging the underlying paint if you want to revert to the car’s original color. This is especially useful if you want to sell your car and restore it to its original appearance. Plastic Dip is generally less expensive than a full car repaint, making it a cost-effective way to refresh the look of your vehicle.

James Carter is an automotive blogger, reviewer, and technology enthusiast based in the USA. With a deep passion for cars and years of experience following the automotive industry, James focuses on delivering honest, well-researched content that helps readers make smarter decisions.