Where Car Enthusiasts Find Answers
Honest Opinions, Hands-On Reviews, & Expert Automotive Content
Your destination for Cars, Auto Tech & Product Reviews
Latest from James Carter
-
Best Glass Cleaner For Car Windows: Expert Picks 2026
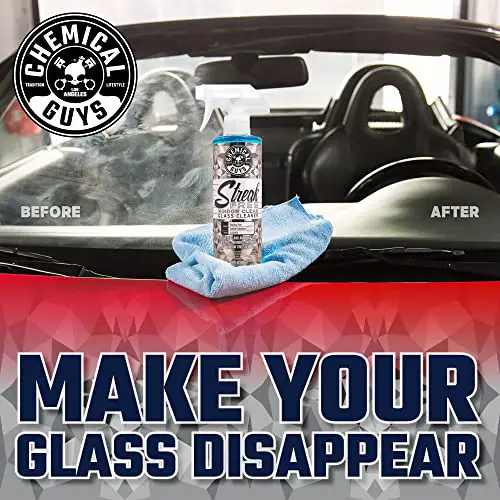
Get streak-free, safe shine with our tested picks of the best glass cleaner for car windows. See top formulas, tips, and budget buys to boost clarity. Learn more →

About James Carter

Meet James Carter
James Carter is an automotive blogger, reviewer, and technology enthusiast based in the UK. With a deep passion for cars and years of experience following the automotive industry, James focuses on delivering honest, well-researched content that helps readers make smarter decisions.
He specializes in car reviews, automotive gadgets, accessories, and buying guides, breaking down complex information into clear, practical insights. From daily drivers to the latest automotive technology, James combines real-world research with a driver-first approach to create content that is informative, reliable, and easy to understand.
When he’s not writing, James enjoys exploring new car tech, road trips, and staying up to date with the latest trends shaping the future of mobility.
Leading Automotive Brands Covered


Articles, Reviews, News, & Insights Related to Cars, Motorcycles & Trucks
Research-Backed Insights To Help You Buy Smarter & Drive Better