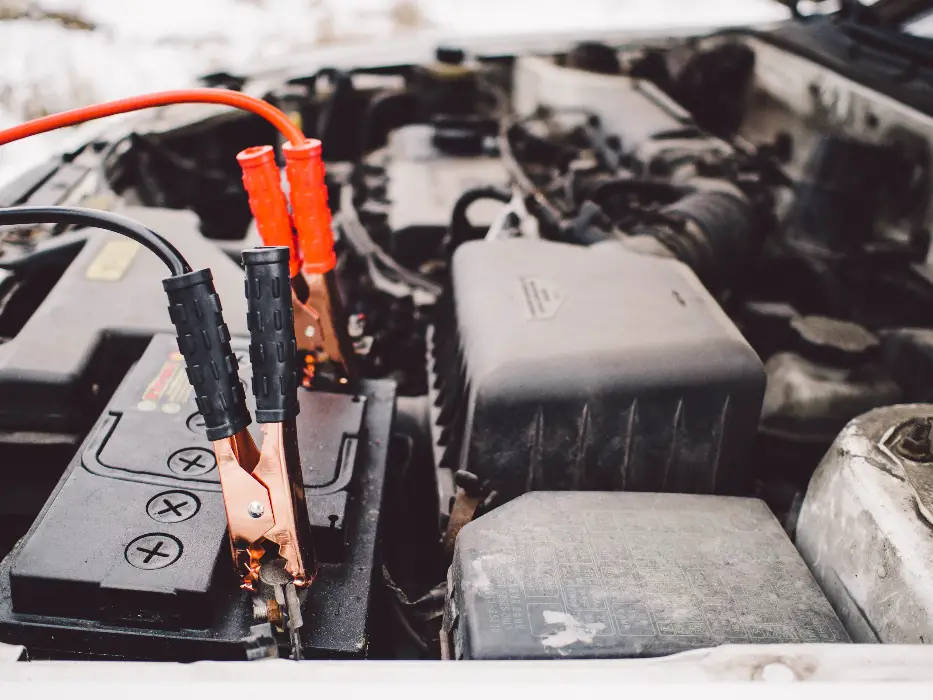
All the small wires connecting the batteries are similar in size, while all the long cables are similar. Disconnect the broken terminal, remove the insulation from the cable, place the repair splice on the line, and reconnect the splice to the battery. Battery cable repair splices are convenient and convenient because they allow you to replace only the terminal end while maintaining an OEM style fit. Let’s learn how to join two battery cables together.
How to Join Two Battery Cables Together
Installing a battery cable on a starter motor
The red cable connector connects to the positive terminal, while the black cable connector connects to the negative terminal. This is true regardless of whether you replace the battery or the starter motor.
Does the positive battery cable connect to the starter?
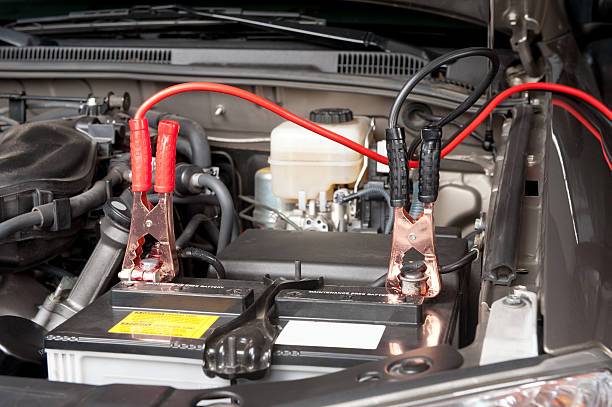
Disconnect the two battery cables (positive and negative) and reconnect them. You can use insulating tape, cable ties, or clamps. Allow the wires to remain connected for at least 30 minutes without touching the battery terminals (you can use a bungee to “hang” them from the open hood if necessary).
Battery Cable Connections
Through the negative (ground) cable, the battery’s negative “-” connector is connected to an engine cylinder block or transmission near the starter motor. The starter solenoid connects the battery’s positive “+” terminal to the positive cable.
Battery cable connections
Selecting the optimal cable size (diameter) and length for overall efficiency is critical. Power is lost when cable lengths are excessively short or excessively long, and resistance increases.
Parallel, series, and series/parallel battery connections should be made with identical cable lengths. Common cable resistance is used for all battery connections to ensure synchronized system performance.
How to Connect Batteries
There are numerous methods for connecting multiple batteries to acquire the appropriate voltage or capacity for a DC installation. Connecting various batteries in a single large bank, rather than as individual banks, increases their efficiency and ensures their longevity.
Series Connection
By increasing voltage while preserving the same ampere-hour capacity is possible when batteries are connected in series. For example, combining two 6V 150Ah batteries in a series will provide 12V but only 150Ah capacity. Two 12V 150Ah batteries connected in series will provide 24V.
Parallel Connection
Connecting batteries in parallel double their capacity while maintaining the same voltage. For example, connecting two 12V 150Ah batteries in parallel gives a voltage of 12V but a capacity of 300Ah.
Series/Parallel Connection
You can use this combination of approaches with 2V, 6V, or 12V batteries to increase the system voltage while increasing the capacity. For example, four 6V 150Ah batteries connected in series or parallel provide 12V at 300Ah. Also, you can connect four 12V 150Ah batteries in series or parallel to create a 24V 300Ah system.
In addition, the location of the main system wires that connect to the battery bank is important to consider. Too often, the system connections feeding the loads must connect to the first or “easiest” battery in the bank, resulting in sub-optimal performance and life. You should secure these primary system cables, which relate to your DC distribution (loads), throughout the bank.
This ensures that the entire battery bank charges and drains consistently, resulting in optimal performance.
The cables connecting the batteries to the main system should be sufficiently large (in diameter) to carry the system’s total current. If you have a large battery charger or inverter, you must ensure that the cables can handle the potentially huge currents generated or used by this equipment and the rest of your loads.
Series connection
Connect the batteries to get a higher voltage, 24 or 48 volts. When two batteries are connected in series, the positive terminal is connected to the negative terminal of the other. The first battery’s negative pole and the last’s positive pole make up the system. This is a 24V, 120Ah bank.
Parallel connections
A parallel coupling connects the positive poles of many batteries and the opposing poles in the opposite direction. The first battery has a positive charge, and the last battery has a negative charge. Utilizing this arrangement allows for increased capacity (in this case, 12V 240Ah).
Series/Parallel Connection
For example, combining series and parallel connections are necessary if you want a higher capacity 24-volt battery set. You must connect the battery to the system parallel using the first battery’s positive pole and the last’s negative pole, other essential points to bear in mind when wiring.
With no connections near bilge water or other wet areas, all circuits should be elevated to the greatest extent possible.
All wire terminal connections should be crimped rather than soldered for security.
Bottom line
In the vicinity of one meter of the compass, it is recommended that you use a two-wire cable.
Never connect new equipment to existing circuits; instead, run a new duplex cable of the correct size (positive and negative wires in a single sheath) from the distribution panel (or other power sources) to the apparatus.
It is advisable to name all wires at both ends and have an up-to-date wiring plan to help troubleshoot future problems.
Each circuit should have its ground connection, which should ultimately be connected to a single ground point/bus bar attached to the battery negative. This is the only place where the grounds should be connected to avoid the catastrophic stray current.
You should support the cables every 450 mm unless they are in conduit.
In the United States, black is used for both the DC negative and the live wire in AC circuits. It’s best to keep the two types of cables separate. To ensure their safety, one or the other must be sheathed even if they must run together.
While working with the DC system, ensure your safety, be sure to turn off any available AC power sources (the earth ground, the onboard AC generator, or an inverter).

James Carter is an automotive blogger, reviewer, and technology enthusiast based in the USA. With a deep passion for cars and years of experience following the automotive industry, James focuses on delivering honest, well-researched content that helps readers make smarter decisions.