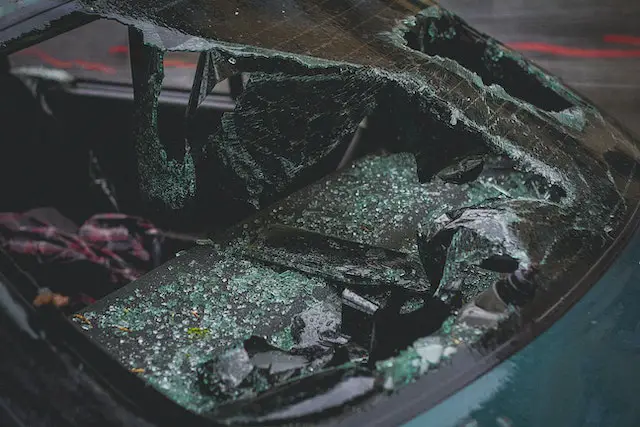
Drawing a car crash can be a challenging and rewarding experience for any artist. This guide will take you through how to draw a car crash.
Whether you’re creating a piece of art or an illustration for a story or graphic novel, drawing a car crash requires a keen understanding of composition, perspective, and the anatomy of vehicles.
- Gather reference images
- Sketch the car crash scene
- Draw the car crash
- Choose the right colors and textures
- Add shadows and highlights
- Add details to the car crash
- Use depth and perspective
- Create the background
- Make the final adjustments
- Give finishing the drawing
How to Draw a Car Crash
Step 1: Gather Reference Images

Before starting your car crash drawing, gathering reference images is important.
Look for photos of real car crashes or reference images of cars in motion to better understand how the vehicles move and deform during an accident.
You can also use online resources or reference books to gather images that will help you create a realistic car crash scene.
Step 2: Sketch the Car Crash Scene
The next step is to sketch out the car crash scene. Use a pencil to create a rough outline of the vehicles and the environment in which the crash occurs.
Consider the angle and direction of the vehicles, and pay attention to the perspective and composition of the drawing.
All you have to do is see one by one following the pictures. After that, start sketching like them on your white paper.


Step 3: Draw the Car Crash

Once you have your sketch, you can start to draw the car crash. Use a pen or a marker to define the shapes of the vehicles and their parts.
Don’t worry too much about the details at this point. Instead, focus on the overall shape and form of the cars, the crumple zones, and the impact points.
Step 4: Choose the Right Colors and Textures
When you’re happy with the overall shape of the car crash, you can start to add color and texture to the drawing.
Choose appropriate colors for the scene and the mood you want to convey. You can also experiment with different textures to add depth and interest to the drawing.
Step 5: Add Shadows and Highlights

Shadows and highlights are essential in giving your car crash drawing a sense of depth and realism.
Study the reference images you gathered earlier and consider where the light source comes from.
Use a light source to create the highlights and shadows on the vehicles and the surrounding environment.
Step 6: Add Details to the Car Crash

The devil is in the details; adding small details to your car crash drawing can make all the difference.
Add scratches, dents, and broken glass to the vehicles, and pay attention to the details of the environment, such as skid marks on the road or debris scattered around the scene.
Step 7: Use Depth and Perspective

Use depth and perspective to create space in your car crash drawing.
Pay attention to the relative size of the vehicles and the environment, and use shading and lines to create the illusion of depth and distance.
Step 8: Create the Background

A well-drawn background can add depth and interest to your car crash drawing.
Use the reference images you gathered to create a realistic background that complements the car crash scene.
Step 9: Make the Final Adjustments
Take a step back and assess your car crash drawing. Make any final composition, shading, or color adjustments as needed.
Step 10: Give Finishing Touches to the Drawing

Once you’re happy with your car crash drawing, add any finishing touches, such as a signature or a frame.
My Opinion
This article provides a step-by-step guide on how to draw a car crash. The first step is to gather reference images to ensure accuracy and realism in the drawing.
Sketching the car crash scene comes next, using a pencil to create a rough outline of the vehicles and environment and experimenting with different angles and compositions.
The actual drawing of the car crash follows, using a pen or marker to define the shapes of the vehicles and their parts. The artist should pay attention to the anatomy of vehicles, such as the crumple zones and impact points.
Choosing the right colors and textures is important; adding shadows and highlights can help bring the drawing to life.
Include details such as debris, depth, and perspective.
The artist should create a background to complete the scene and make final adjustments.
Overall, drawing a car crash requires a keen understanding of composition, perspective, and the anatomy of vehicles. Following these steps, an artist can create a realistic and impactful depiction of a car crash.

