When your car brakes start to make a noise, it’s because the brake pads have started to wear down, and the alloy backing is scraping against the metal rotor. You can buy anti-rattle clips to help fix this problem. Moreover, if you want to stop your car from shaking or rattling, then you should try installing anti-rattle clips on your brakes—these clips style to reduce the noise caused by vibrations. Let’s learn how to install anti-rattle clip-on brake pads.
To hook up the anti-rattle clips, you can use elastic straps. They are often used to prevent the brake pads from rubbing against each other during braking. These clips are also known as anti-rattle clips.
The installation process for anti-rattle clips is straightforward and can do in a few minutes. You need to follow some steps to help you eliminate all kinds of noises that may occur when you drive your vehicle.
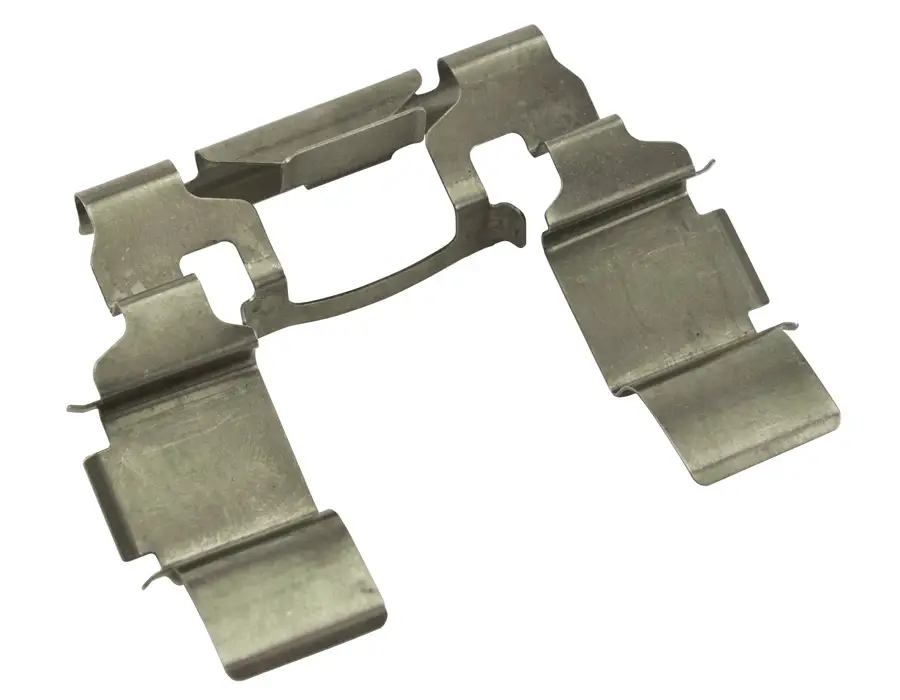
What Are Anti-Rattle Clips?
Anti-rattle clips are small pieces of metal or plastic inserted into the spaces between the moving parts of a mechanism to prevent them from rattling against each other. They use cars, machines, and other devices to reduce noise and vibration.
This article will express installing anti-rattle clips on your brake pads using a few simple steps.
How to Install Anti-Rattle Clip-On Brake Pads?
Step 1: Remove the Old Rattle Clips
You need to remove the old rattle clips before installing new ones. If you don’t break in this way, the brake pads may damage. To dismiss them, you have to use a pair of pliers. Unlock the brake caliper from its clamp using a socket wrench. Pry the bib from its brake pad’s retaining pins by gripping its caliper with a screwdriver. Pull the brake pad off the caliper and discard it.
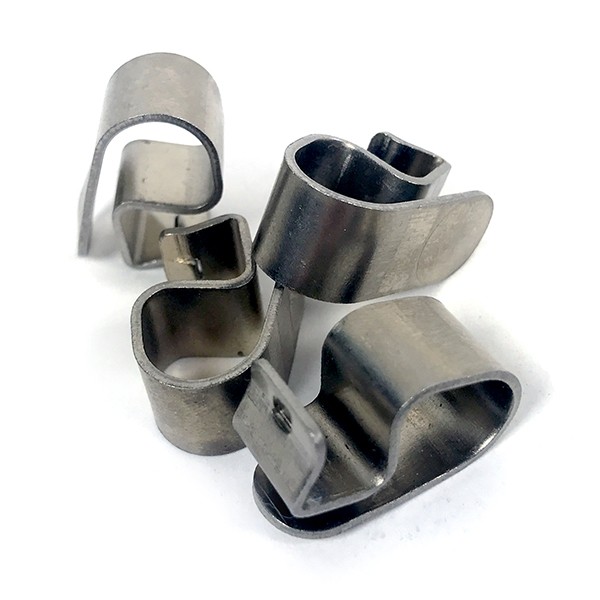
Step 2: Install the New Rattle Clips
After removing the old clips, you need to install the new ones. The new clips are available in various dimensions and structures. You can choose between several options. To install the clips, you first need to open up the box containing the clips. Then, please take out the pins and place them onto the brake pads. Finally, close the box again.
For this, Slide the release knob for the new brake pad into the anti-rattle clip. Line up the notches on the metal backing plates on the inner portion of the anti-rattle clip with the gap on the brake pads.
Step 3: Adjust the Position of the Clips
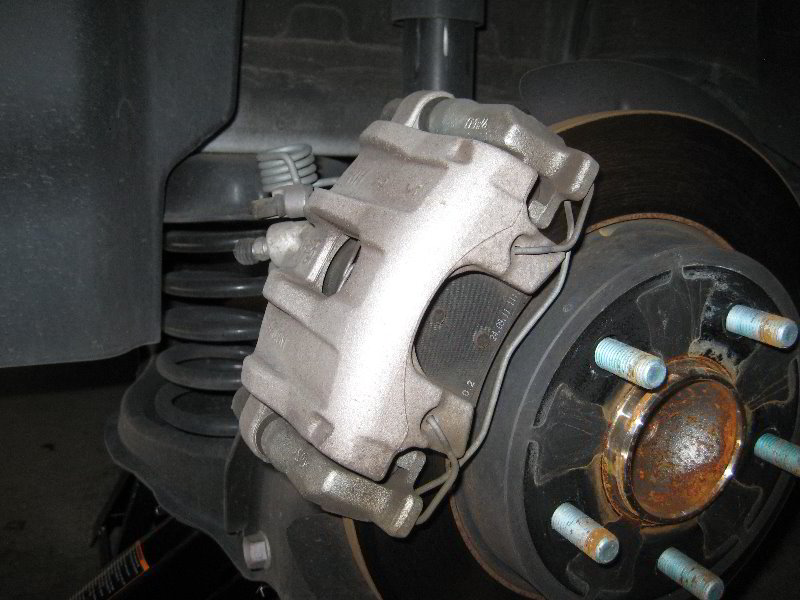
Once you have placed the clips on the brake pads, you need to adjust their positions to fit perfectly. You can do this using a screwdriver. Insert the brake pads and the anti-rattle clip into the middle of the caliper. Press the caliper pistons into the caliper housing via the flathead.
Step 4: Use a Wrench to Tighten the Screws
Finally, you need to tighten the screws with a wrench. Make sure that you apply adequate pressure so that the clips stay firmly in place. It would help slide the slots on the top of the brake caliper. The brake pad uses a backing plate fastened.
Verify that the clips attached to the strain align with brake pad holes. Slide retaining pins through the caliper, brake pads, and anti-rattle fasteners. Tighten the retaining pins with a screwdriver. Install the brakes onto the vehicles.
Hence, Make sure that you use calipers and brake pad anti-rattle clips. If you don’t attach the brake pad anti-rattle clips to your car’s brakes, the brake pads will rattle, causing noise at low speeds and potentially damaging them. Brake pad anti-rattle clips can remedy this issue and are inexpensive and easy to install.
Frequently Asked Questions
How To Install Brake Pad Clips?
There are different ways to install brake pad clips using a brake pad clip tool. This tool helps hold the bolt in place while fastening the brake mechanism. Another way to install brake pad clips is to use a pair of pliers. If you have a hole and need a patch with it, you can use a hammer and a nail.
How To Change Brake Pads Without Removing The Caliper?
It’s sometimes feasible to change the brake pads without terminating the caliper. One way is to use a brake pad spreader tool to push the old brake pads out of the caliper. Another way is to use a C-clamp to clamp the caliper shut and then use a screwdriver to pry the old brake pads out of the caliper.
To replace brake pads, first, remove the wheel from the car. Then, drag the brake calipers and pull off the brake shoes. Next, remove the old brake pads and clean the brake rotor. Finally, install new brake pads and put these brake pads back together.
What Is the Purpose of the Anti-Rattle Clip?
The anti-rattle clip prevents rattling noises when the vehicle is moving at high speeds. It does by using a rubber band around the tiller that controls the motion of the steering wheel. The anti-rattle clip can use on any size backpack. It is easy to use, and it doesn’t affect the fit of your pack.
How Long Does It Take To Install Anti-Rattle Clips On Brake Pads?
Car brake pads normally take roughly ten minutes to install anti-rattle clips. The pins help keep the brake pads in position to lower noise and make the car quieter. You can self-manage the task with a drill press. You can use a hammer to replace an electric drill. Moreover, when you do not have a proper toolbox, you can use a credit card to maintain the clip in place for your comfort as you tighten it up.
Final Thought
In conclusion, installing anti-rattle clips on brake pads is a quick, easy way to improve the performance of your brakes and reduce annoying rattles. If you’re having trouble with your brakes, or if they seem to be noisy, try installing some anti-rattle clips and see if that solves the problem. By following the steps outlined in this article, you can ensure that your brake pads are correctly attached and that annoying rattles eliminate.

James Carter is an automotive blogger, reviewer, and technology enthusiast based in the USA. With a deep passion for cars and years of experience following the automotive industry, James focuses on delivering honest, well-researched content that helps readers make smarter decisions.