
This blog will discuss the best ways to repair your car cigarette lighter socket. The problem of a “dead” lighter socket is a common one, especially if you drive around a lot. Although there is a lot of instruction floating around online, we hope to explain in the simplest terms how you can fix this problem on your own and get your lighter socket working again. Here is the guide on how to repair a car cigarette lighter socket.
We’ve all had the adventure of trying to smoke a cigarette in a car and the more delicate socket break. As a result, you leave with a lighter that won’t work even if there is power. In this explanation, I explain how to use a repair kit to fix the problem.
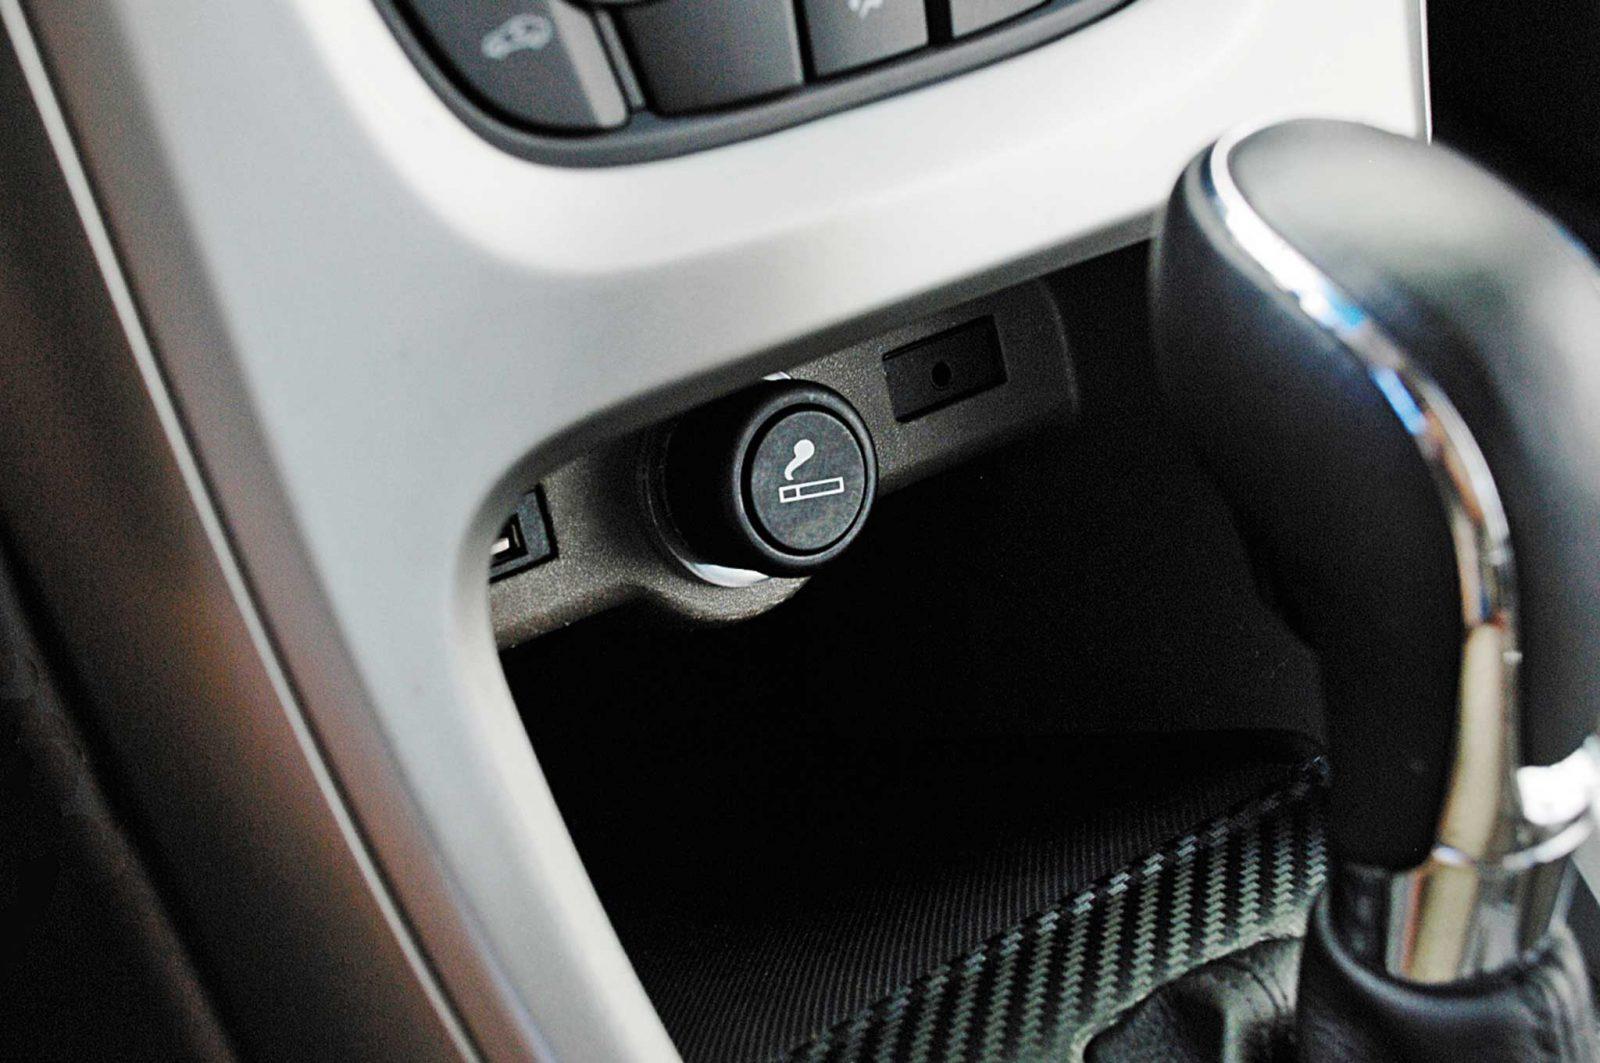
How to Repair a Car Cigarette Lighter Socket
- First, you’ll need to remove the faulty socket. Create confidence to wear gloves to bypass obtaining ignited by the increased voltages. Unscrew the metal lid to display the metal bar.
- Then, using a wrench, take off the metal rod.
- Here, the metal piece is causing the lighter to malfunction. This part has to replace.
- A socket matches what’s left in your car in your new kit. Put this role in your car and the metal bar to maintain it.
- Last, put the metal cap back on to protect the metal rod.
Distinct Forms to Restoration a Car Cigarette Lighter Socket

Way 1
If the auto cigarette’s lighter socket is not functioning, it may require repair. Foremost, confirm that the socket is not muddy and no residue stops it. If it is pure and transparent, the socket may need to substitute.
To replace the car cigarette lighter socket, remove the old one from the car and replace it with a new one. Ensure that the new socket installs correctly and correctly connects to the car’s electrical system.
Way 2
A car cigarette lighter socket fuse is typically a small, cylindrical piece of metal or plastic with a wire running through it. This fuse style melts and breaks the circuit if too much current passes through it, preventing the wiring in the cigarette lighter socket from overheating and potentially causing a fire.
If the fuse in your car’s cigarette lighter socket has blown, you can replace it by removing the cover of the socket and pulling out the old fuse.
Way 3
The foremost action is to evaluate the impairment. If the metal component of the socket bends, it can gently straighten with needle-nose pliers. If the plastic accommodation ruptures, it can glue jointly with a powerful bond. Suppose the contacts corrode during this process. They can clean with a wire brush. The final step is to reattach the socket to the car and test it by plugging in a lighter.
Way 4
The car cigarette lighter socket can repair by using a soldering iron. The solder will need to melt, and then the two ends of the wire will need to be attached to the car cigarette lighter socket. Once the solder has cooled, the car cigarette lighter socket should be working again.
Way 5
The first step in repairing a car cigarette lighter socket is identifying the problem. The most common issues with car cigarette lighter sockets are that they stop working or become loose. Once the problem identifies, the next step is to repair it.
It can do by using a screwdriver to tighten the screws that hold the socket in place or by using electrical tape to fix the wires that have come loose. Once the socket restores, it should work properly again.
Way 6
A car cigarette lighter socket can repair by using complex academic jargon to explain the necessary steps. First, the wires leading to the socket must locate and identify. Next, the cables must slit close to the socket. After that, a new wire must attach to each of the old wire stubs, and then those new wires must reattach to the socket. Finally, the entire area must test to ensure that it functions correctly.
Way 7
One approach to repairing a car cigarette lighter socket is to use a soldering iron to reattach the wires that have come loose. Foremost, create confidence that the energy to the cigarette lighter socket revolves off. Then, utilizing a couple of pliers, extract the metal surface from the facade of the socket. Once the body releases, use a soldering iron to reattach the wires that have come loose.
Frequently Asked Questions
Which Causes A Car Cigarette Lighter To Stop Working?
A car cigarette lighter may stop working due to several reasons. One opportunity is that the more delicate is not obtaining energy. It could be due to a malfunction in the auto’s electrical technique or an issue with the lighter itself. Another reason the lighter might not work is if it blocks by something, such as a piece of paper or a coin. If the flint is more delicate worn down, it might also stop working.
How Considerably Accomplishes Its Command To Set A Car Cigarette Lighter?
The cost to fix a car cigarette lighter will vary depending on the type of damage and the mechanic performing the repair. Generally, labor costs will range from $50 to $100 per hour, and parts may cost between $5 and $50. However, it is necessary to note that these estimates can vary greatly depending on the make and model of the vehicle. Some mechanics may also charge a diagnostic fee to assess the damage.
What Fuse Goes To The Cigarette Lighter?
The fuse that goes to the cigarette lighter is a 15 amp fuse. It is vital to utilize the proper fuse because it can blast.
Are All Cigarette Lighter Sockets The Same?
There is no one standard design for cigarette lighter sockets. Instead, they arrive in diverse figures and dimensions, relying on the make and representative of the auto. Some sockets are round, while others are square or rectangular. Some have multiple ports, while others have only a single port.
Conclusion
In conclusion, cigarette lighter sockets come in various shapes and sizes. At the same time, they all have the same function. Not all of them erect equally. When shopping for a cigarette lighter socket, be sure to compare the different options and prefer the one that is well suited for your needs.

James Carter is an automotive blogger, reviewer, and technology enthusiast based in the USA. With a deep passion for cars and years of experience following the automotive industry, James focuses on delivering honest, well-researched content that helps readers make smarter decisions.