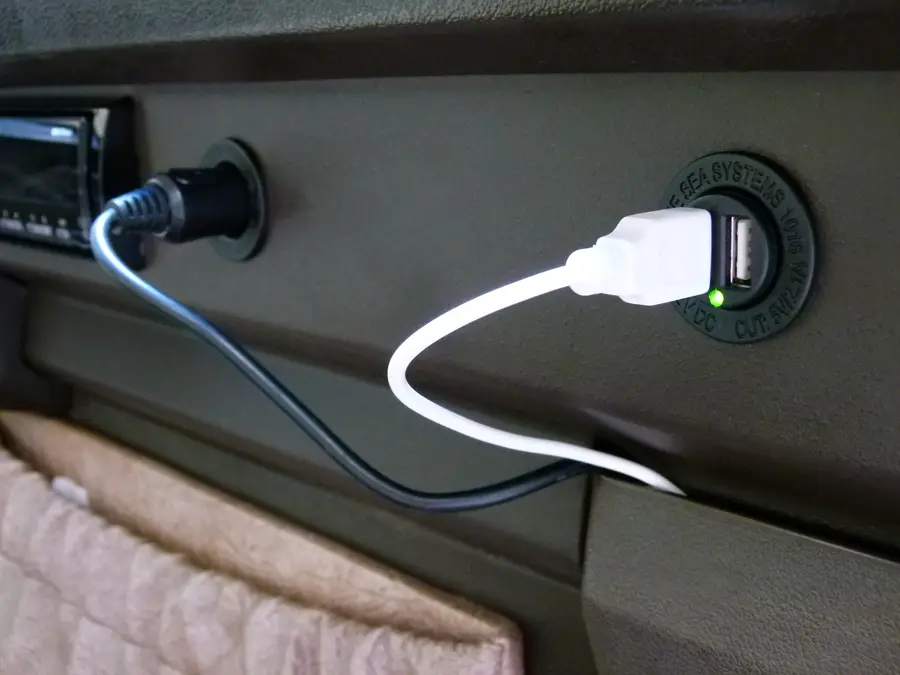
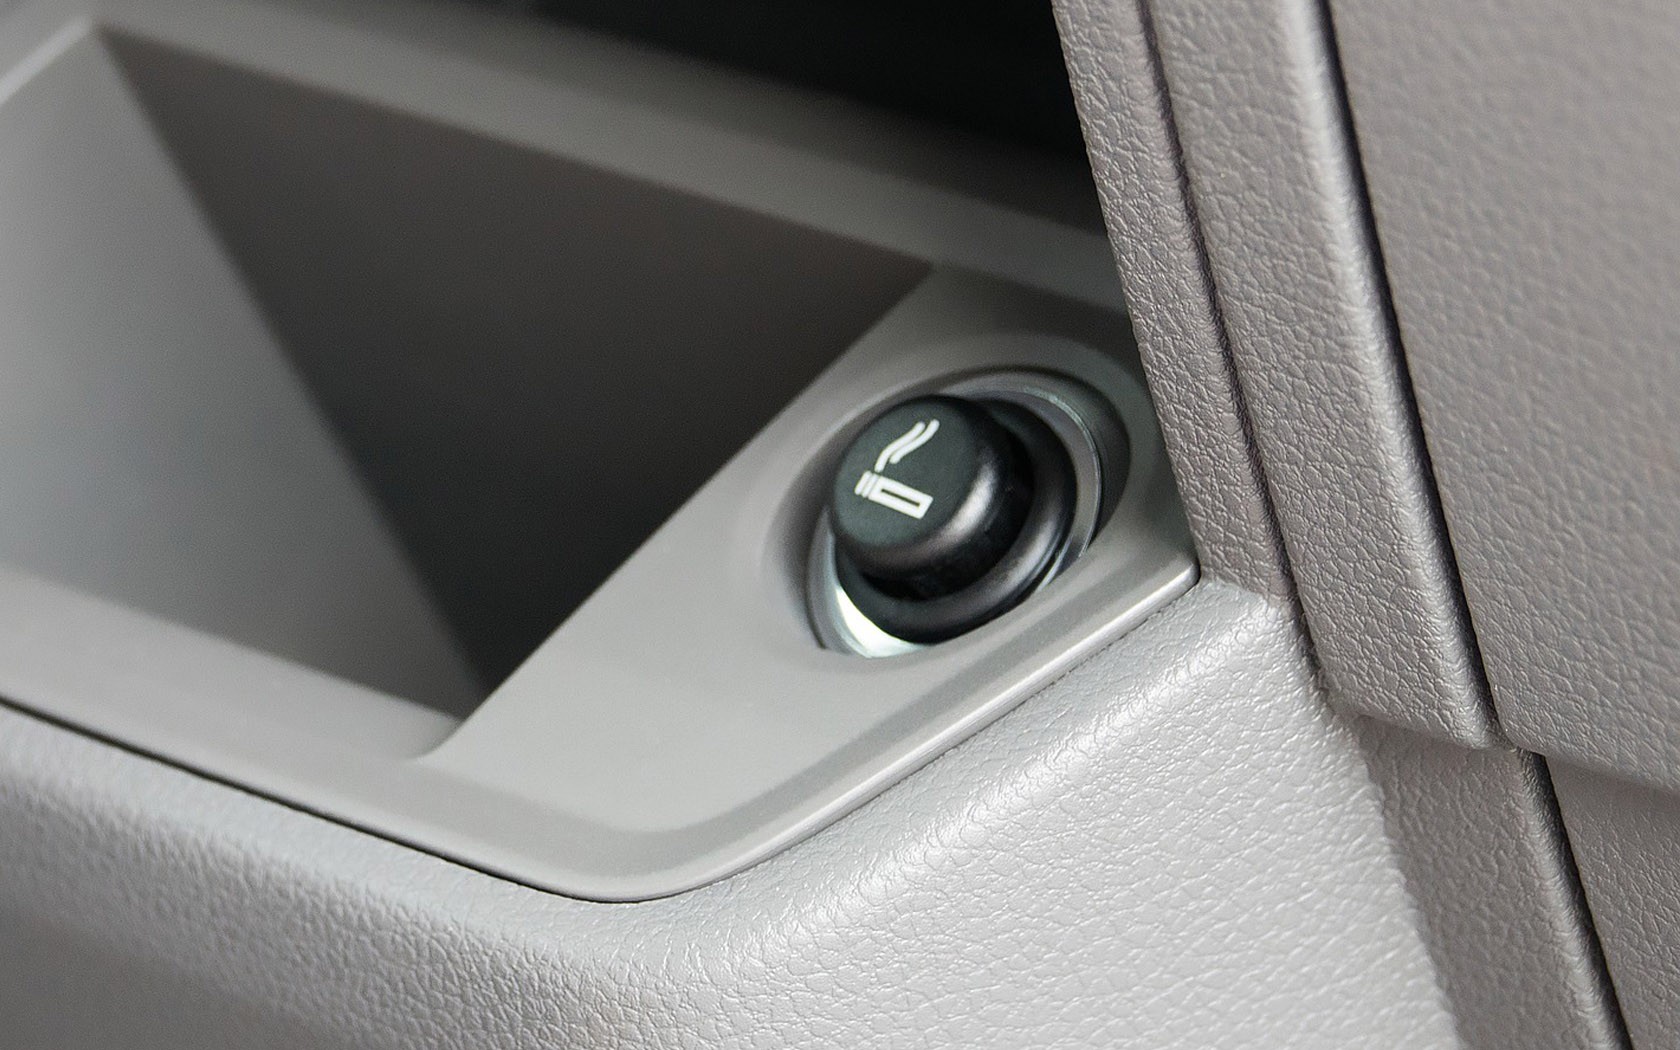
We all are acquainted with a 12v car socket. Whenever we get a flat tire or need a charge for our phones, we head to our car for the 12v socket. Over the years, the car battery has remained the same. Unfortunately, so has the design of a 12v car socket.
That is not an issue when you obtain a balanced tire or require a fast charge. However, when you want to charge the batteries of your laptop or camera or when you have a secondary battery of your Tesla, you need to look for a replacement.
How to Replace a 12v Car Socket
Stage By Stage Principle to Replacing A 12v Auto Socket
- Carry out the pins on the base of the socket
- Put the screwdriver in the socket and turn
- Pull out the metal rod and the spark plug
- Put the spark plug in the new socket
- Put the metal rod through the new socket.
- Close up the socket’s base.
- Please put it in place.
- Put the rubber molding over the hole
- Put the screws in place and close the back of the socket like normal.
- Test it by connecting a wire and touching the two ends to the two ends of the plug, and the spark will be there
- Plug it into your car, and it should work like new
Five Different Ways to Replace a 12v Car Socket

Way 1
First, you can find a vehicle repair shop that can fix a 12v car socket for you. Foremost, you keep taking separated the socket’s case. Then you can examine the wires and break them at the ends. Make sure it works and reassemble the new socket. Then you can put the socket back in your vehicle and get going again!
Way 2
Space Imprints appear from the plastic case with a razor edge and a small tolerance. Then using, a voltage meter checks to see if the wire is good before removing the plastic cover and disconnecting the connector from the old socket.
You’ll need about an inch of wire for each end of the wire soldered to the connector to connect to the 12v wire and measure out the length. Cut the wire and strip the insulation exposing the bare wire and solder the connector to the wire and attach the ground wire to the opposing point on the connector.
Way 3
If you are looking for an easy and cost-effective way to replace a 12V car socket but don’t want to replace the socket or charging points altogether, you can easily install a 12V socket with a socket wrench. Utilize an adjustable spanner or socket wrench to disconnect the 12V socket from the 12V charging point. Remove the 12V car socket.
Mark the container lid with a marker pen that fits snugly inside the opening and drill a space in the top center. Fit the 12V car socket through the area, ensuring that the electrical wires connect to the 12V socket.
And that the 12V socket is aligned correctly with the hole in the lid. Mount the top onto the container and secure it with the screws provided with the 12V car socket.
Way 4
A 12v car socket can replace with a hacksaw. Once you cut the first line, move one inch up and cut again. Continue this process until you have successfully disconnected the socket from the car. You will have to cut through plastic, metal, and silicon. After disconnecting the two pieces, you can use a soldering iron to reconnect them by adding more silicon to the socket.
Take your time when you’re soldering so you don’t make any mistakes. Once the silicon around the wires reconnected, tighten the screws, and you can do it!
Way 5
Foremost, bring a pin for the sort of socket you like to substitute. Test it works by plugging a phone charger or something similar into it. Terminate the front bumper from the auto. Detach the negative terminal from the barrage. If you don’t do this, you will cause damage to the car, and you may injure yourself. Once this does, remove the current socket from the car.
Get a lighter and apply heat to the socket, be careful when doing this as you may catch fire! Once the hot, use a flat-head screwdriver to remove it. Put the new socket in its place and connect the wires like they were connected before. Re-attach the bumper and turn on the ignition and test it out!
Frequently Asked Questions
How Much Does It Cost To Fix A 12v Socket In A Car?
The cost to fix a 12v socket in a car can vary, but typically it costs around $10-15. The price can vary because sometimes the entire socket needs to be replaced, and sometimes it’s just a matter of replacing the fuse. A few other factors can affect the cost, such as whether or not the mechanic has to remove the dashboard to fix the socket.
Why Does My 12v Socket Not Work?
There could be a few reasons why your 12V socket does not work. One possibility is that the socket is burned out and needs to replace. Another reason may be that the socket is not correctly grounded, which could cause an electrical shock.
Do All Cars Have A 12V Socket?
While most modern cars come equipped with a 12V socket, several older models do not. Additionally, some aftermarket accessories, such as power inverters or jump starters, may require a 12V socket.
Are All 12V Plugs The Same?
The 12V plugs are not all the same, as they come in different shapes and sizes. It can create it challenging to discover the correct plug for the instrument you are attempting to power. It is vital to review your instrument’s specifications to ensure you are operating the proper hook.
Conclusion
In conclusion, if you need a new 12v car socket, you can use a few methods to replace it. You can carry your auto to a mechanic, order the part online and replace it yourself, or go to a local auto parts store. No matter which option you choose, read the instructions carefully and use caution while working on your car.

James Carter is an automotive blogger, reviewer, and technology enthusiast based in the USA. With a deep passion for cars and years of experience following the automotive industry, James focuses on delivering honest, well-researched content that helps readers make smarter decisions.