Writing on car windows is a fun and creative way to express your thoughts and ideas or decorate your car. Whether you want to write a message for a special occasion or add personality to your vehicle, writing on car windows can be an easy and affordable DIY project. This article will guide you through how to write on car windows.
These are the steps that we are going to follow step by step:
- Understanding Car Window Writing
- Preparing the Vehicle and Writing Materials
- Cleaning and Preparing the Window
- Creating a Template for the Writing
- Applying the Writing
- Removing Excess Ink
- Protecting the Writing with a Sealant
- Adding Decorative Details
- Taking Care of the Writing
How to Write on Car Windows
Understanding Car Window Writing

Before writing on your car window, you must understand that specific markers are designed for this purpose.
Regular markers may not work well or could damage the window’s surface. Car window markers are usually water-resistant, easy to apply, and easily removed.
Learn More: How to Remove Water Stains From Car Windows and Paint
Preparing the Vehicle and Writing Materials
The first step is to gather all the necessary materials. You will need:

- Car window markers.
- Masking tape.
- Paper towels.
- A cleaning solution.
It’s also essential to choose a location where you can write comfortably, preferably in a well-lit area.
Cleaning and Preparing the Window

Before writing on the window, it’s crucial to clean the surface thoroughly. Any dirt or debris on the window may affect the quality of the writing.
Use a cleaning solution and a paper towel to wipe the window. All you have to do is go and wet the towel, then pour a little quantity of cleaning solution into a towel.
Move that towel gradually throughout the window. After that, let it dry.
Creating a Template for the Writing

Creating a template can help you plan the design and layout of your writing.
Masking tape can create straight lines or geometric shapes on the window. Alternatively, you can use a stencil to trace your desired design on the window.
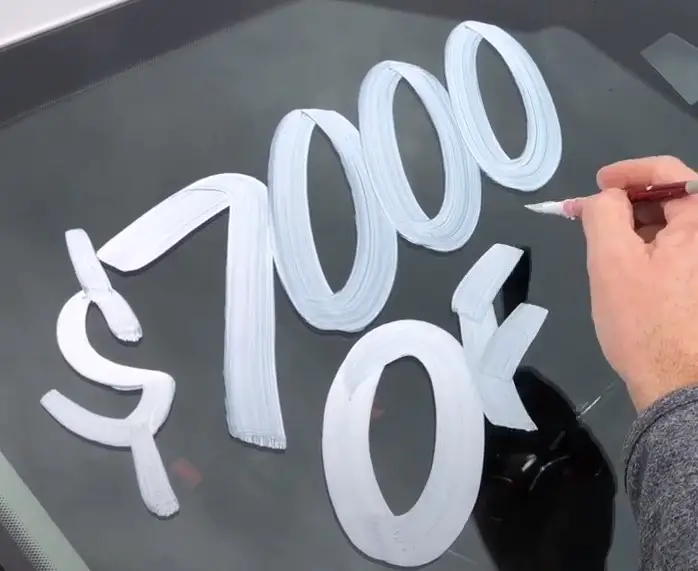
Applying the Writing

Once you have your template in place, it’s time to start writing. Use the car window markers to write your message or design on the window.
Remember that the marker’s ink may appear darker when you apply it, but it will lighten up as it dries.
Removing Excess Ink

After you finish writing, you may notice excess ink on the window or outside the template.
Use a paper towel or a damp cloth to remove any excess ink carefully. Avoid using too much pressure to prevent smudging or damaging the writing.
Protecting the Writing with a Sealant

To protect your writing from rain or other external factors, it’s recommended to use a sealant.
You can find sealant sprays or wipes specifically designed for car windows. Apply the sealant carefully and let it dry completely before touching the writing.
Adding Decorative Details

Consider adding some decorative details to add some flair to your window writing.
You can use different colors, add some patterns, or include some stickers or stencils. Be creative and have fun with it!
Taking Care of the Writing
To maintain the quality of your writing, avoid touching or wiping it for at least 24 hours after applying it. Also, avoid washing your car for the first few days.
When you need to remove the writing, use a cleaning solution and a cloth to wipe it off gently.
My Opinion
In conclusion, writing on car windows can be a fun and creative way to express yourself or celebrate special occasions. However, using temporary and safe materials is essential to avoid damage. Enjoy leaving your messages while preserving the integrity of your car’s windows.

James Carter is an automotive blogger, reviewer, and technology enthusiast based in the USA. With a deep passion for cars and years of experience following the automotive industry, James focuses on delivering honest, well-researched content that helps readers make smarter decisions.