How to Remove Gear Shift Cover | 9 Steps You Must Apply Now

0

Having a manual car is a blessing for those who love to drive manually. However, protecting its gear shift from scratches, dust, and other damages is also necessary. The gear cover also helps protect the gear shift area of the automatic vehicles. A gear cover or gear shift cover is one of the best ways to protect your gear shift from certain damages. let’s learn how to remove gear shift cover.

One who is used to driving a manual vehicle will not face any difficulty putting on and removing the gear shift cover. However, if you are a new user, you may face difficulty putting on and removing this cover on your own. So, you should go for ‘ how to remove gear shift cover? ‘. 

Once you learn how to do this task, you can easily change the cover at home. In this precise guide, we’ll be discussing some essential tips to remove the gear shift cover. 

How to Remove Gear Shift Cover in 9 Steps? 

How to Remove Gear Shift Cover

Here is a step-by-step procedure to remove the cover of your vehicle’s gear shift on your own. 

Activate Parking Brake

Safety is the foremost thing, no matter what task you’re accomplishing. When you want to remove the gear shift cover of your car, make it static by activating its emergency brake or parking brake. Never proceed without this safety measurement. 

Hold the Gear Lever Well In Place

If you have a manual vehicle, put it in 2nd or 4th gear to hold the gear shift lever well or in a neutral state in an automatic case. This will let you easily unscrew the gear knob screw or Allen head bolt. 

Remove the Gear Shift Knob Cover

Most of the users have a cover on the gear shift knob too. If you are one of them, remove the knob cover before removing the shift cover. 

Trace the Screw 

After putting the car in any of the above states accordingly and removing the gear knob cover, go for tracing the screw or Allen head around the knob. Some models don’t have such a head or screw and will have only a plastic ring as a connector. 

Remove the Snap Ring

Most of the latest vehicle models also have a plastic snap ring to prevent the free movement of knobs. If your car also has such a snap ring, trace it. Use the pressure of the screwdriver to remove this snap ring before you go unscrewing the screw or Allen head. 

Unscrew the Allen Head or Screw

When the snap ring is removed, the knob of the gear shift will be easy to remove. Use an Allen wrench in the Allen head or a screwdriver in case of the screw. Separate the base of the knob by unscrewing the screws. 

Pull the Knob Off

After unscrewing the screw or Allen head, you can separate the knob from the lever fitting. Pull the knob up to remove it. 

Detach the Cover from the Base 

The plastic base of the gear shift cover will be fixed in place. You can remove it by pressing it inwards gently. Take it out by pressing the plastic inwards gently. 

Remove the Cover 

When you’ve removed the knob of the gear shift, you can easily pull out the cover after detaching it from the base. So, take it out and insert a new one or make the same cover fresh by washing it properly. Here you have done it! 

Why is Gear Shift Cover So Important? 
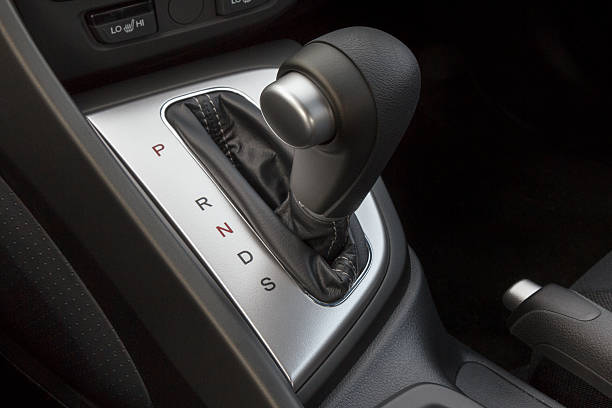
Why is Gear Shift Cover So Important

You’ll have encountered a gear shift cover in most automatic and manual vehicles. Though it doesn’t play any mindful role in driving the vehicle, it plays an important part in safety and decoration. Here are some of its benefits. 

Prevents Scratches

No matter how careful and conscious you’re about the safety of your car, the gear knob and gear shift may get scratched on it. However, a knob cover and a gear shift cover will prevent damage to these parts. 

Prevents Exposure to Dust

Your gear lever and all its components are exposed to dust in some conditions. This may affect the functionality of the gear shifter. However, a gear shift cover will maintain the functionality of the gear shifter by preventing it from dusting. 

Adds to the Look of the Vehicle

A bare gear shifter and bare gear knob will look odd. However, covers for both these parts will add to their beauty. So, it will add to the appeal and internal decoration of the car. Also, it will maintain the original glow and shine of this part. 

Frequently Asked Questions

How do you remove gear shift trim?

Removing the gear shift trim is quite easy through the following method. 

  • Remove the adjacent ashtray behind the gear shift trim in most vehicles. 
  • Now put your middle two fingers of both hands where the trim connects to the car body on the front side. 
  • Exert pressure gently; it will open the trim. 
  • Keep moving your fingers back and detach the whole trim. 
  • Take it off! 

How do you remove a shifter gaiter?

Removing the gaiter of the gear shifter is quite easy. 

  • Unscrew the Allen head or screw that connects the gaiter to the shifter. However, some models have a press system that doesn’t feature any screw or Allen head. 
  • Now pull the gaiter; it will come out. 

How do I remove the shifter assembly?

Remove the cup holders or ashtray holders of the car. Here, you’ll see the base of the gear shifter assembly. Remove the knob and start pulling the assembly gently. Start from the back and go forward. After you have detached the whole assembly, take it out. 

Conclusion

Removing the gear shift cover is quite easy if you know how to do this. Changing or making the existing cover by deep cleaning will add to the look of your vehicle. If you want to remove the gear shift cover, proceed with the above procedure. You can accomplish this mission by yourself without rushing to the mechanic. 
How to Tighten the Power Steering Belt | 5 Methods by Expert

0

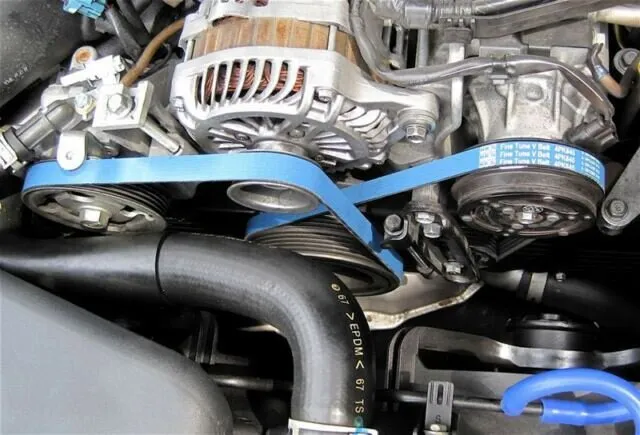
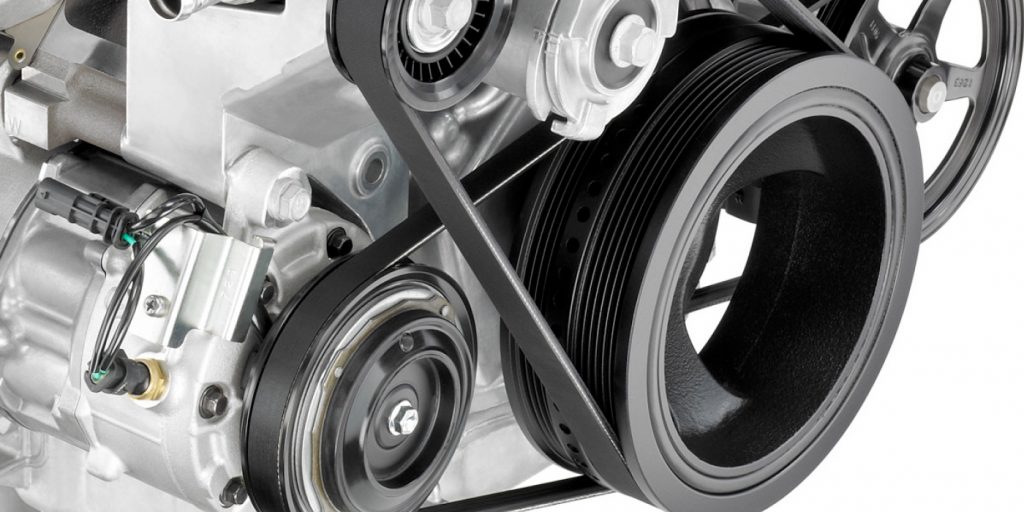
Vehicles use several belts to power different significant components. One of the belts used to control the steering mechanism is the power steering belt. The power steering belt is responsible for transferring the power from the engine to the steering mechanism. The belt works by converting the rotational motion of the machine to the rotational movement required to rotate the steering wheel. Let’s learn how to tighten the power steering belt.

If the belt is not working, it will be challenging to turn the steering wheel. Power steering is an instrument that allows you to drive the auto while pushing the steering action uncomplicated.

The power steering belt is responsible for turning the power steering mechanism into helpful work. The power steering belt of your car inevitably gets worn off with time. And when it accomplishes, it’s the moment to alter the belt. Here is how you can constrict the capacity steering strap.

How to Tighten the Power Steering Belt

How to Tighten the Power Steering Belt

Method 1

With the right tools and a little time, almost anyone can tighten a power steering belt. You will need to have a jack, jack stands, and a good quality wrench to do this safely. What you do is place the stands under the car and use the jack to lift the vehicle.

Then, remove the wheels and place a metal plate under the power steering belt. Again, you then remove the belt and the metal plate.

Once you remove the plate, you can then use an open-end wrench to get a better grip on the belt, and then you can use the wrench to tighten the bolt with a socket wrench. 

Method 2

Your car’s power steering belt keeps all the power steering parts of your vehicle working correctly. It’s essential that the power steering belt is tight and keeps proper tension. This process will help you tighten the belt and make your power steering system safe and efficient. You’ll need a 12 mm wrench and a ratchet to do this procedure.

The foremost action is extending your hood and discovering your capacity steering strap. Then, take the twist and use it to loosen the bolt. After that, use the wrench to loosen the belt from the pulley and remove the belt from the pulley.

Lastly, take the strap and use it to replace the pulley. Make confident that it is not excessively sealed or overly flexible and can operate voluntarily.

Method 3

First, you need to plan out what you’re doing. Once you have gathered all the necessary tools, you can go ahead and put your car in park and turn off the engine.

Next, you need to put the steering wheel in the straight-ahead position. Then, make sure to crack the steering wheel nut loose with the steering wheel nut wrench, remove it and set it aside. 

After that, you can remove the brace and loosen the bolt. You should make sure you place the mount in a safe area as you will need it again. After you finish, you can test the power steering by turning the steering wheel a few times. If it is still stiff, repeat the steps.

Method 4

The power steering belt plays a vital role in how smoothly the wheels turn for many cars. Because of this, it’s essential to tighten it when it begins to loosen. The first step to narrowing the belt is to reduce the lug nuts holding the tire in place.

Then, get the car in the process and loosen the bolts holding the power steering belt and remove it. Wrap the new strap around the motor and tighten the bolts. Verify that the belt is not too tight or loose to avoid damaging the engine or tires.

Once you’ve put the new belt in place and tightened it, get back under the car and put the lug nuts. Tighten the nuts until the vehicle can handle itself. Turn the wheels to make sure you don’t hear any weird noises, then get out from under the car and stand back to admire your work. 

Method 5

The power steering strap requires tightening the power steering procedure to the job. Instructions and steps include: First, disconnect the negative battery terminal. Next, loosen the tensioner pulley bolts with a wrench and turn the pulley clockwise until it is loose enough to rotate when pulled back. Pull back on the tensioner pulley until the slack in the belt disappears.

Frequently Asked Questions

How Much Tension Should A Power Steering Belt Have? 

A power steering belt should be tight with little slack. A flexible strap will direct slack steering and advanced wear on the belt. The tension on the power steering belt should be just tight enough to maintain a slight belt rub. The power steering belt should not be over-tightened, as this will cause the pump to draw excessive motor current and produce premature wear in the bearings.

How Do You Know If Your Power Steering Belt Is Terrible? 

If your power steering belt is terrible, you may notice that the steering becomes difficult to turn or grinds when trying to make sharp turns. The easiest way to test if your belt is terrible is by simply looking at it; it’s time for a replacement if it’s worn down or torn.

Can You Drive With A Loose Power Steering Belt?

The power steering belt helps provide the turning force for your engine. If it is loose, the belt will slip, resulting in insufficient energy to turn. It can be terrible for other drivers on the road, as you may lose control of the car. It would advise having someone who knows how to fix cars look at it right away. 

How Long Do Power Steering Belts Last?

The average lifespan of a power steering belt is approximately two to five years, depending on how often it uses.

Conclusion

Your power steering belt keeps your power steering fluid under pressure so that your steering wheel is easy to turn. If the strap fails, you will have no control over steering. You have to rotate the reel by hand. If you leak the power steering fluid, you should add fluid to ensure the reservoir does not go empty. A belt should last about ten years before it needs to replace. 

How to Track Amazon Truck | Process of Tracking Amazon Truck

0

Amazon offers a variety of innovative and new technologies to improve the deliveries’ working, including the alternatives of delivering the packages on your doorstep or even on your car trucks. It tries its best to build the logistic accessories and network to rely on the traditional and regular carriers as those efforts are only meant for expansion to a large extent.

In addition, with an Amazon tracking map, one can easily track the status of the tracking deliveries and the working of carriers soundly. 

Therefore, keep reading the article if you want to know how to track Amazon trucks. 

How to Track Amazon Truck

How to Track Amazon Truck

So never will it surprise you to get the package from an amazon truck? Now, please wait for your amazon truck to be over as it is available in all USA purchases for deliveries. 

You can easily track your amazon truck with the handy feature of amazon map tracking. The amazon map tracking system lets you get the information an ETA and know when your order will arrive and the number of stops the driver is far away from home. It also offers a map that can show the distance of your delivery driver is in real-time.

Use of Amazon map tracking

Each parcel or package may not be transported by the dedicated Amazon vehicle. If you receive your package through UPS, FedEx, or other United States postal services, you cannot use the Amazon Tracking map. Suppose the package is about to reach you by the retail giant.

In that case, Amazon will send you an alert that will allow you to check the status of the delivery driver on the tracking map that is available on the Amazon website and in-app. You can also monitor the location of the delivery package, even yourself. 

So to use the Amazon map, open the setting menu and select the orders. Select the package track from your orders receipt or the shipment confirmation email to reach the Amazon map tracking. You can click on the map when the driver is getting closer to you on the parcel delivery if you sign up on the amazon tracking map for getting the delivery alerts on your map, as the website will show the map for your view. 

Moreover, the Amazon tracking map allows you to manage and arrange the package when it is due to get the parcel or give the name of the safe place for your delivery package if the driver may alter the route of the delivery package, as you will continue to check the map and will not see the number of stops.

If the amazon tracking system shows a personal address, like a gift address or wish list, disabling the Amazon map will be an excellent option to protect the customer’s privacy. 

Delivery confirmation

If you are not at home and your package gets delivered, amazon offers drivers a facility to take a photo of the package upon delivery. In addition to the photo, they will leave a detailed description of the package location, and it is given.

The example of the description is like; your package is on the front door of the garage. If your delivery driver does this process, you can see the Amazon app or official website section to track the package’s status. 

This will be a good step in case your driver successfully hides your package on your doorstep, but it is also helpful on the part of Amazon end by offering proof of the delivery of the package. So among the features of Amazon, it is the most essential and beneficial to feel confident and easy that will not miss the critical order. 

Frequently Asked Questions

How do you operate a map tracking app on Amazon?

To turn on the Amazon tracking map, head to the setting menu and select your required orders. From this place, you can track the package by clicking the button on the app or tapping for the item in transit in the mobile app because the Amazon map is helpful to check the delivery of your package. 

How do I know the Amazon truck will come to my location?

The deliveries of the amazon tracking truck occur between 6 am to 10 pm local time. So to avoid disruption, the drivers will hit your door directly contact you for delivery only between the business hours of 8 am to 10 pm until and unless your delivery comes with the scheduled or needs a signature.

How can you track Amazon tracking trucks?

You can track Amazon tracking trucks by contacting the amazon delivery drivers to download and continuously run the smartphone app. It works as a mentor to monitor the driving behaviour while on the job. The app acts as a tool to improve the driver’s safety generates a score each day that measures the driving performance of the employees. 

Is there an Amazon tracking app?

To track the parcels and packages, there is a tool available via Amazon mobile app.; you have to check it up and enter your orders. When you plan to search to know where your parcel is, you will look for a map and track and check your parcel in real-time if the feature is available. Then you will come back to the package’s status where it is. 

Conclusion

So to wrap up the article on how to track amazon trucks, it will not be wrong to say that the amazon tracking app to track the record of deliveries comes with the mentor app that focuses on the DPS driver’s day-day life on the job sites as they function to keep up the safety scores. The app also provides the drivers with the delivery trucks and their homes facility. 

The mentor tracking amazon apps can track the drivers to check whether they are using the safety belts while driving the trucks. 

How to Test Ballast Ignitor | Different Methods Described

0

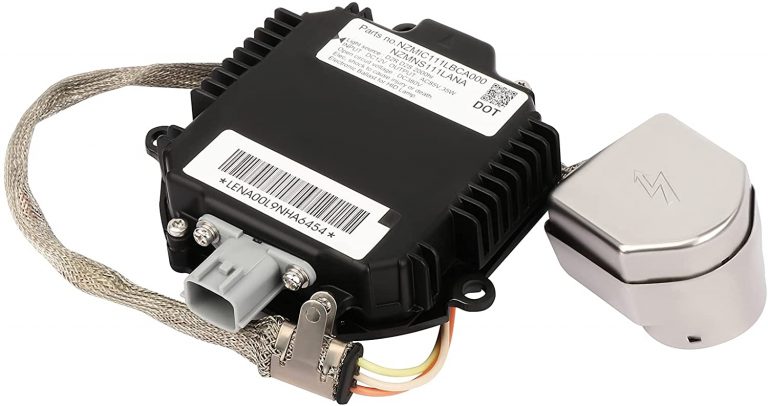
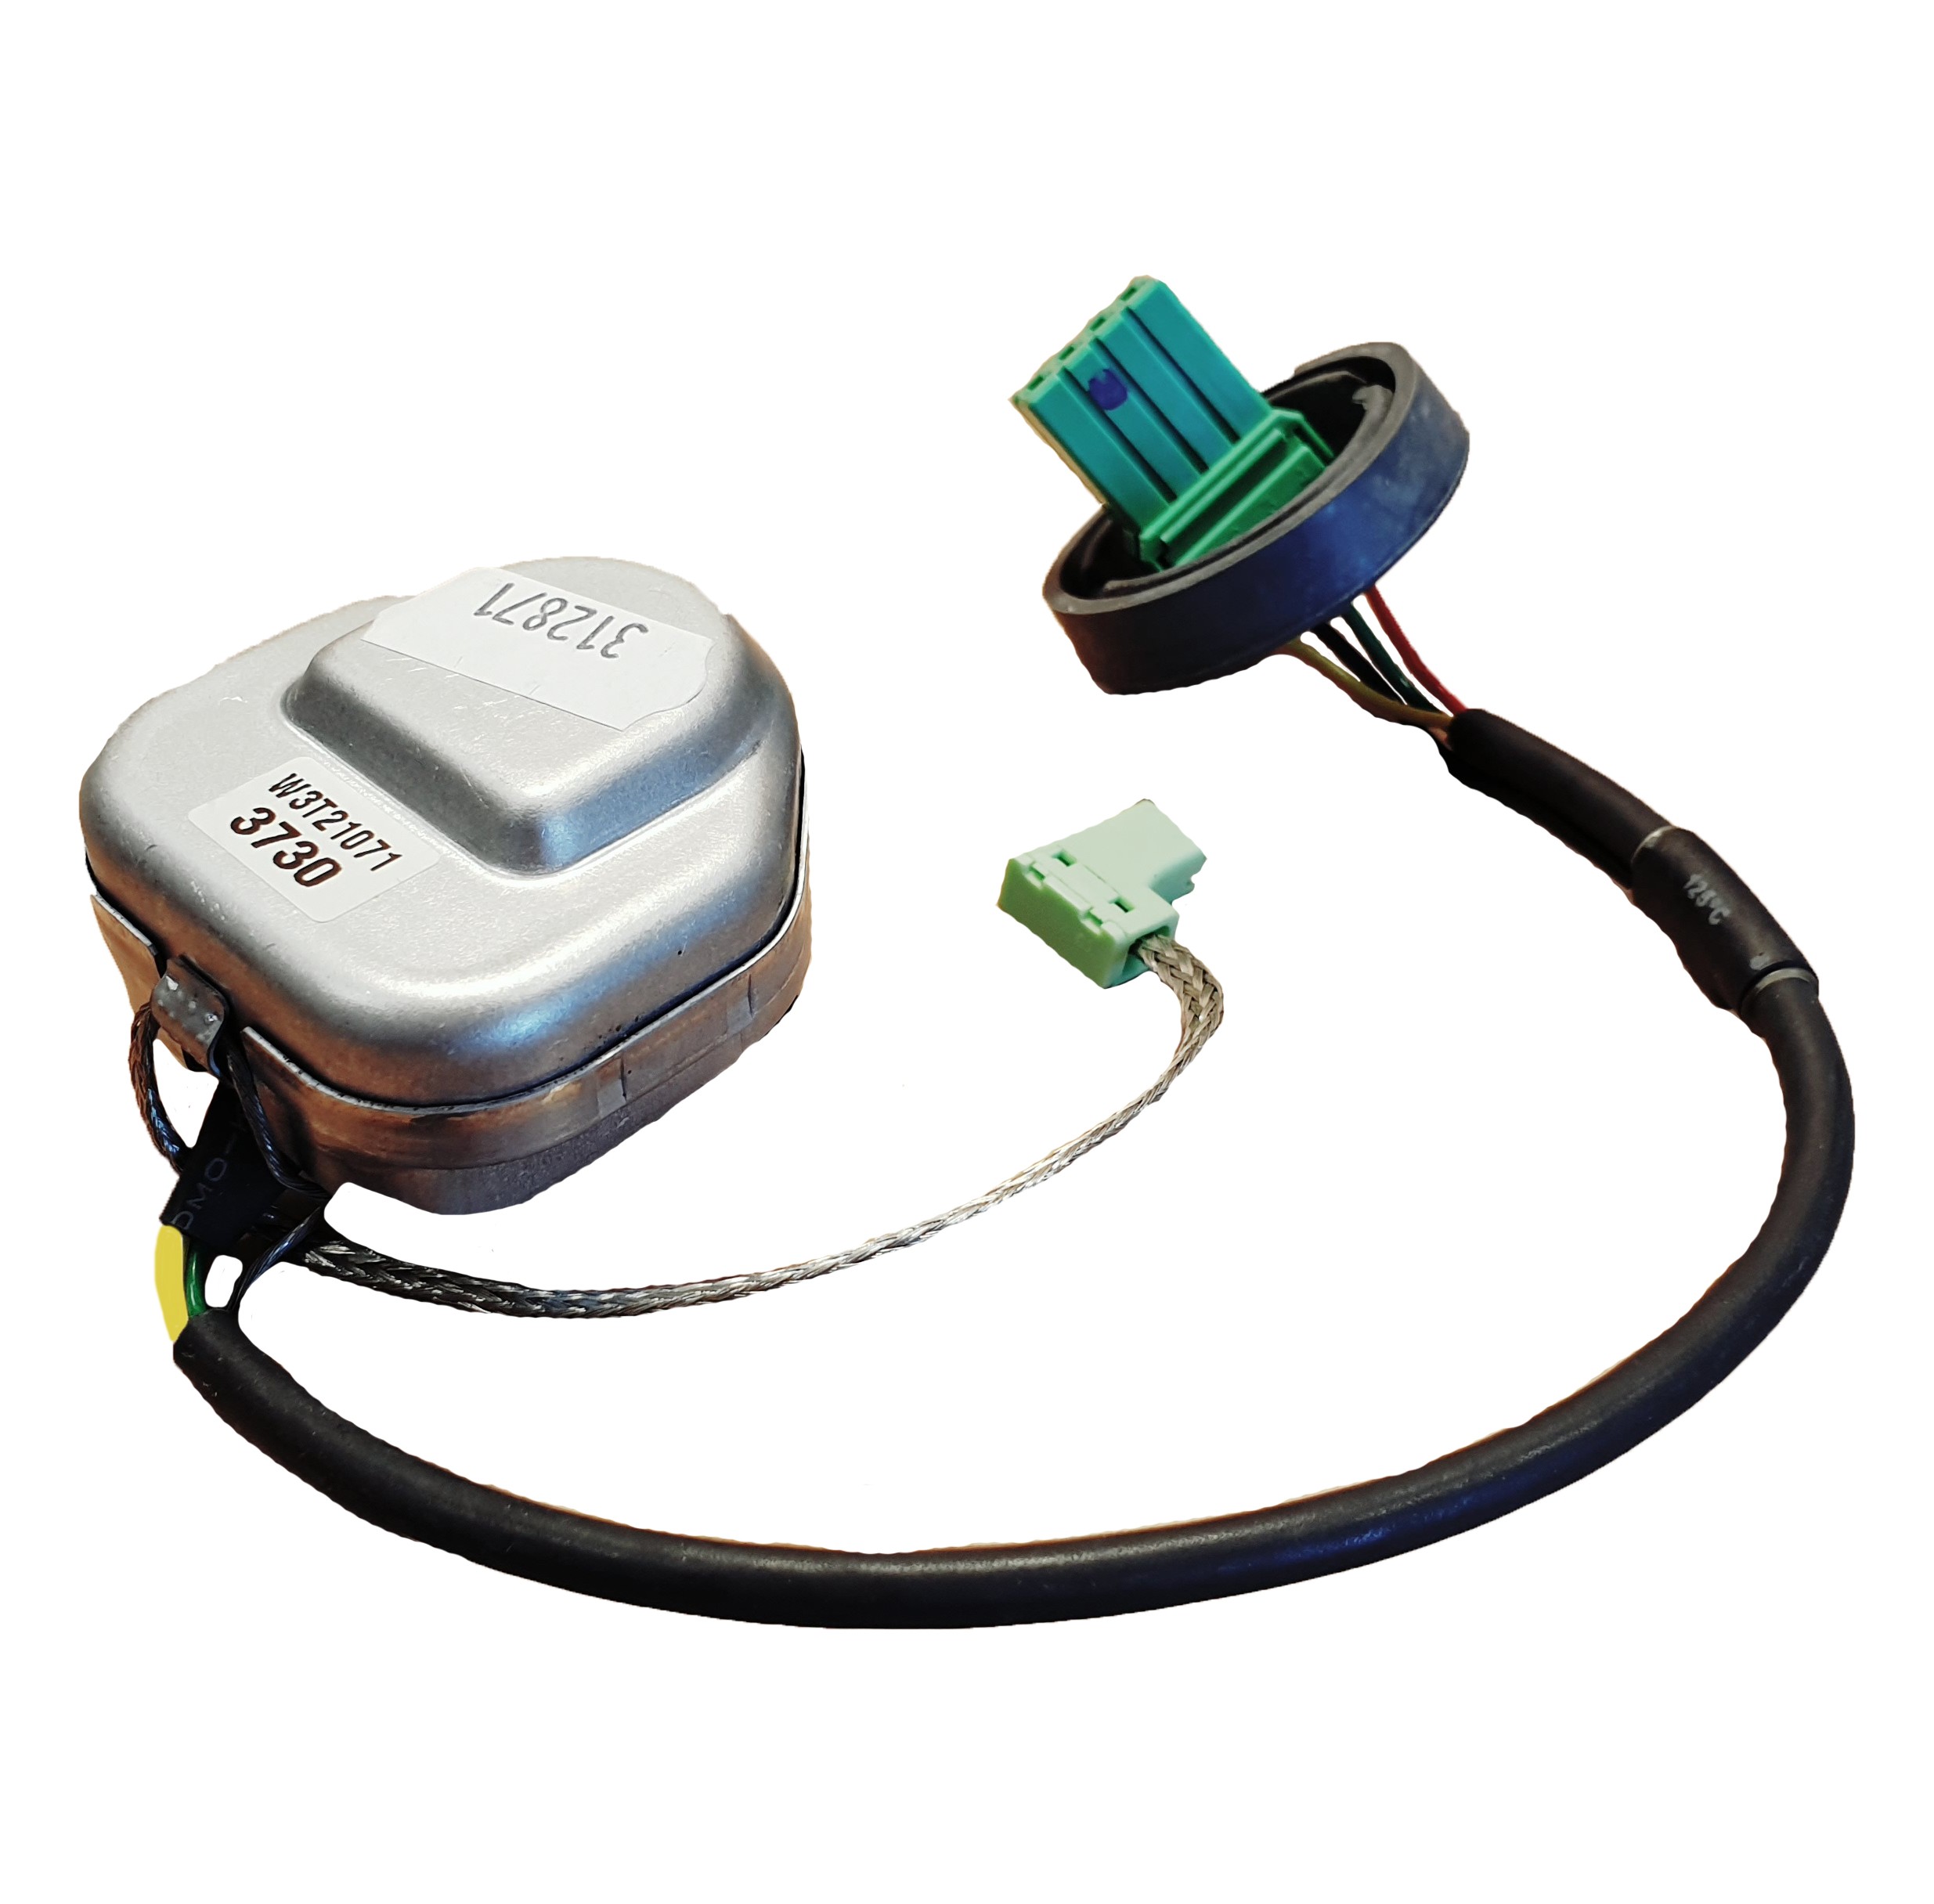
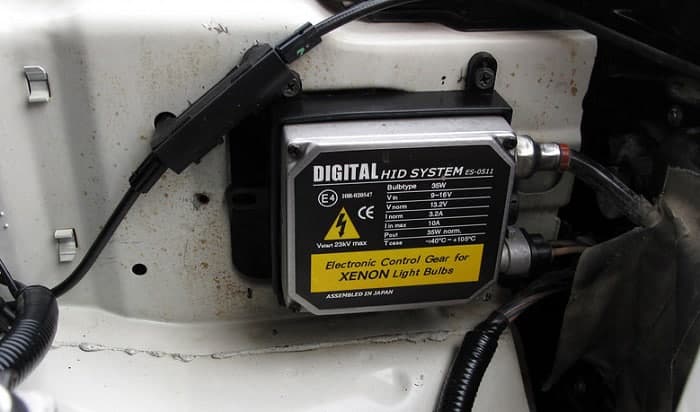
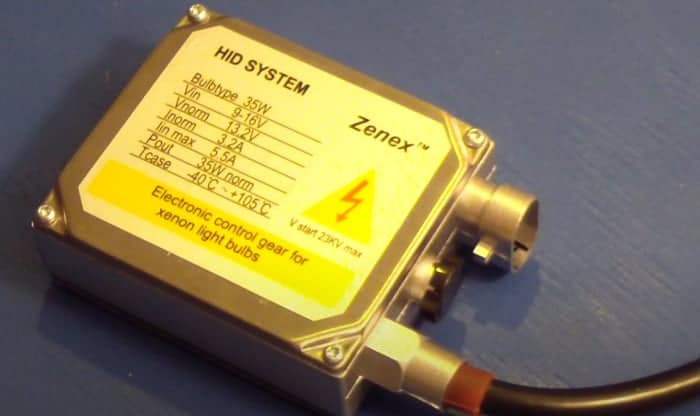
A ballast Ignitor is a device used mainly in electricity generation plants. It is an electronic component whose primary role is to ignite the gas used in these plants. Ignition of the gas depends on how powerful the ballast is. If it is too weak, the gas will not ignite, and there will be no electricity production. Therefore, it is necessary to test the ballast ignitor to ensure that it works well.

How to Test Ballast Ignitor

How to Test Ballast Ignitor

Procedure to Follow When Testing Ballast Ignitor

Here is the strategy you should follow when testing ballast ignitors. First, wait until the pilot lights, and then turn on the power. Next, check if the LED is on. If so, the ignitor should be working correctly. If the LED is not on, check the ballast energy source and breaker box.

If the energy source and TV are working correctly, check the ignitor for blown fuses and broken wires if the ignitor is working correctly. There may be a faulty control board. Upgrade your equipment to shift from an analogue to a digital system to improve operational efficiency and save money.

How to Test Ballast Ignitor through Continuity Test?

On a ballast ignitor, use the continuity test to see if the ignitor is functioning correctly. Check that the ignitor is not shorted or open and that it does not energize when it should not be or not energized when it should be. If a multimeter is not available, test the ignitor with a jumper wire. Note that this test performs with the ignitor in the circuit. And thus will cause a short if the ignitor is open.

How to Test Ballast Ignitor through Ohms Test?

Follow the steps to test the ballast ignitor through the ohms test:

  • Remove the wire off the ballast coil. 
  • Check the resistance on the ballast coil through ohms. 
  • Revolve the ignition and review the ohms. 
  • If the ohms are more than 5000, you can find the ballast coil is OK. 
  • If the ohms are less than 5000, then the ballast coil is shorted or open, and you need to change the ballast coil.

Test Ballast Ignitor through Diode Test:

The diode test utilizes for testing the ballast ignitor. Instead of a diode, we use a test light for the other ignitors. The reason for this is simple. When trying ballast ignitors, you can’t remove the ignitor from the circuit, so you can’t check for voltage across the ignitor’s leads (a diode test requires you to find the hot and load wires and check to see if a voltage is present on both of those wires). 

You can’t just check for a hot wire with ballast ignitors because there is no hot wire. A diode test would require additional wiring to lead to the ballast ignitor. Once the ignitor installs, you can’t see the back of the ignitor, so it’s impossible to know which wire is which. You can’t see the back of the ignitor because it’s hidden inside the ballast. So instead, we check for power at the leads of the ignitor with a test light.

Steps To Check The Ballast Ignitor Through A Voltmeter?

Using electronic ballast, you can use a voltmeter to test the ignitor:

  • Remove the ignitor from the lamp.
  • The black test leads to the black wire in the lamp and the other lead to the white wire. 
  • Place the red test lead on the lamp’s transformer frame. 
  • The ignitor is working when you can read 3 volts DC between the black lead and the ignitor frame. And the ignitor is terrible if you can’t read any DC voltage. 
  • If you are using magnetic ballast, you can’t use a voltmeter to test the ballast because electronic ignitors do not utilize in magnetic ballast. 
  • The only way to test magnetic ballast is to remove a lamp and test the ignitor with a voltmeter.

How to Use a Power Supply to Test the Ballast Ignitor?

How to Test Ballast Ignitor

The ballast ignitor is what initiates the lighting of the filament. The ballast ignitor is placed inside the ballast and connected to an AC power supply. There are two ballast types, magnetic and electronic, and one needs to use ballast that matches the kind of ignitor.

For example, an ignitor connected to magnetic ballast must connect to magnetic ballast. One uses a power supply to test the ignitor. Some ballasts and ignitors have a built-in power supply to test the ignitor. In this case, the power supply only needs to have the same power frequency and current rating as the ballast.

How to Check the Ballast Ignitor through the Ballast Tester?

How to Check the Ballast Ignitor through the Ballast Tester

It is possible to test the ignitor of ballast with the help of a ballast tester, but it will not always be the most convenient or accurate of tests. Ballast ignitors use to ignite gas-discharge (neon or other types) lamps. They are an electric ignition system that uses a high-voltage arc produced between two electrodes to ignite a gas discharge lamp. The ignitor is not always a separate component from the ballast, but sometimes it can be. 

The tester will sometimes be able to check the ignitor, but it will require you to unsolder one or both leads from the ignitor because they need to short together while the ignitor energizes. The problem is with the ignitor leads, not the ignitor. The ballast tester is set to a very high voltage and will not have a low enough current flow to check the ignitor.

Frequently Asked Questions

What Is The Easy Way To Test The Ballast Ignitor?

  • Change the voltage and check whether it can ignite. If yes, the ballast is OK.
  • When the ballast turns on, there should be an arc between the ignitor and the bulbs.

How Do You Test An HPS Ignitor?

  • I take a 12V battery and short the leads of the ignitor until it lights.
  • I ground the leads and then applied a variable DC power supply to test its current. 
  • Measure the resistance between the ignitor leads. 

How Can You Test A Metal Halide Ignitor?

  • I would use a voltmeter to test for resistance
  • I would unscrew the ignitor to see if it has a resistor inside

How Can You Test An Igniter With A Multimeter?

Place the red probe into the L1 port and black into the L2 port, then turn on the ignition

Conclusion

In conclusion, a ballast ignitor is a device that provides the power needed to start a gas furnace. It is essential to have all of the components checked and working to prevent an interruption in heating. First, to try a ballast ignitor, detach it from the energy reserve before testing. Next, measure its voltage output using a voltmeter. 

How to Scan your Car for Tracking Device | 5 Steps by Expert

0

With the use of accurate tools and procedures, one can easily find out the tracking devices in your car by checking the exterior and interior of the vehicle. Some people think that tracking devices are valid only for private investigators to keep on the individual’s whereabouts. But this is not true. The general public can also use vehicle tracking devices. In this post, there is valuable information about how to scan your car for tracking device.

How to Scan your Car for Tracking Device

How to Scan your Car for Tracking Device

To scan the tracking device, the following are the essential steps to follow:

Know what you are looking for

If you are doubtful that someone is checking or monitoring your movements with the cellular tracking device or GPS, there are three methods to check it in your car. Most tracking devices are helpful for legitimate purposes and do not conceal. When the tracking devices are being used in concealment and placed on the car’s exterior, they need thorough monitoring to search for them.

Tracking devices look distinctly depending on their company and purpose, but some valuable tips can e helpful in locating them in your vehicle. The appearance of the tracking device is like a small box with a magnetic side and does not have an antenna or a light on it. The size of the tracking device is small, usually three to four inches and two inches in width.

Make sure you have a flashlight for looking into dark spaces in your vehicle. You should also buy a telescopic mirror and an electronic sweeper.

Perform the physical inspection

Check the car’s exterior by looking at all the locations where the tracker can be placed. The tracking device installed on the car’s exterior is compact in size and weatherproof. With a flashlight, check the rare and front side wheels.

You can feel the areas that are difficult to see with the naked eye using your hands. If the tracker is present in the wheels well, there should be a magnet with the metal part. So look at the plastic covers that don’t need removal.

Then look under the undercarriage and the mirror on the extendable pole fixed beneath your car. The bumpers are also where the trackers can be found, but most bumpers don’t come with many places to hide.

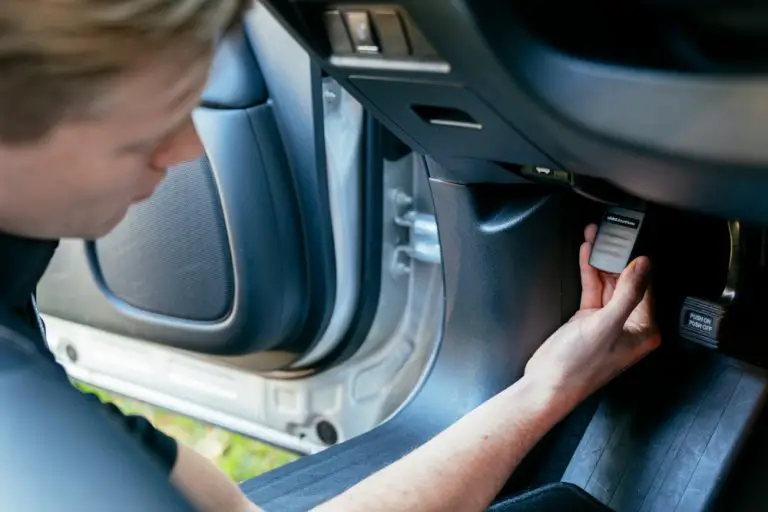
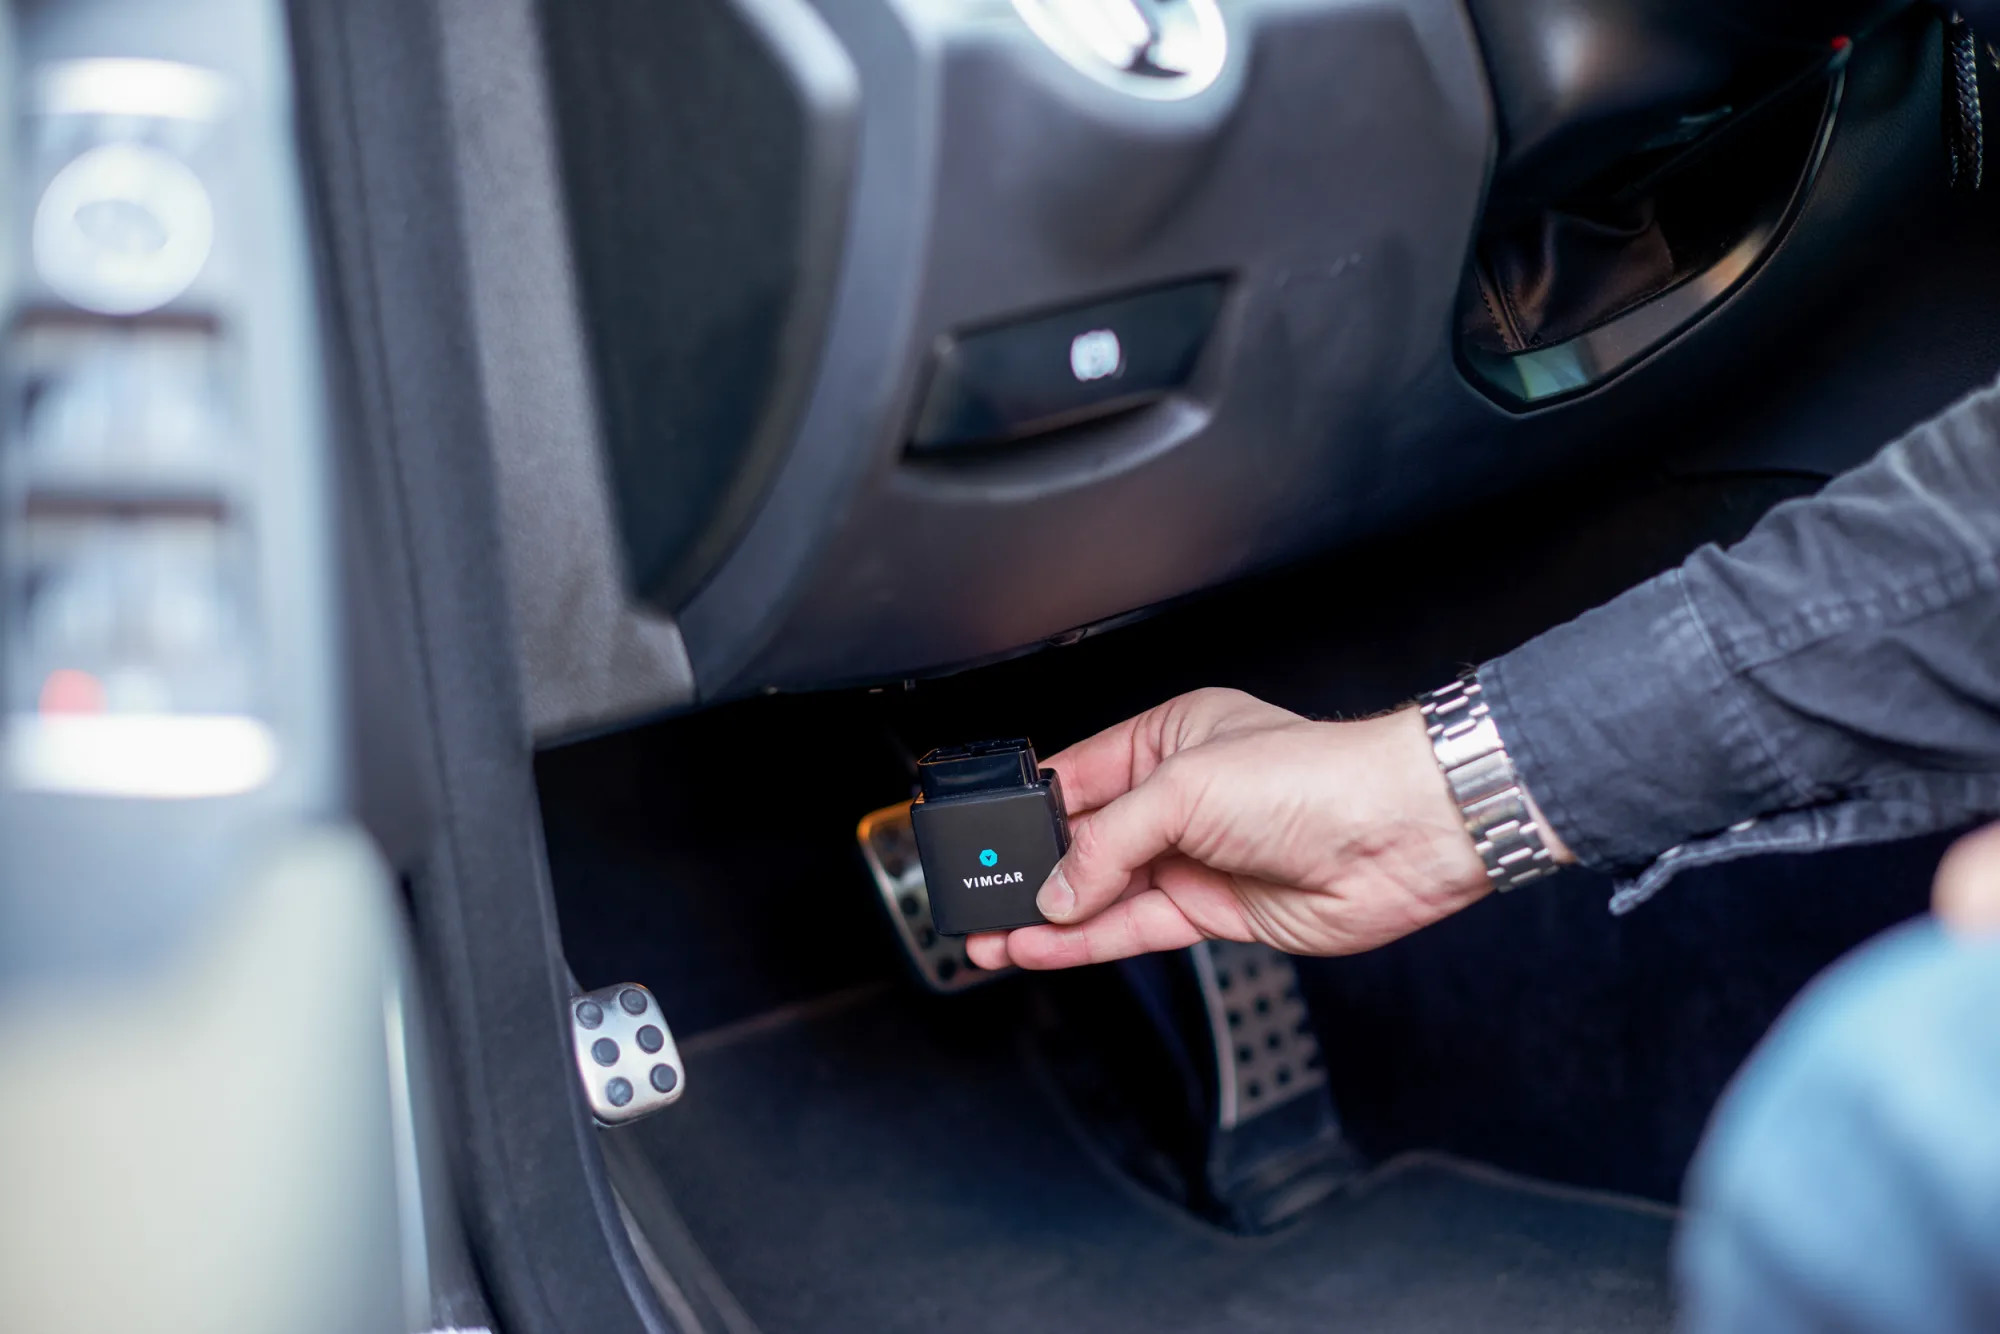
To check the interior of the ca, the data port under the driver seat of the dashboard is the most common place to consider to check the tracking devices. Monitor the small box plugged into the data port; if the tracking device is present, you can easily remove it.

The next place is the car’s trunk, including the spare tire apartment, as it can be located underneath the spare tire or any other trunk space. Using the flashlight, check for the tracking device under the seats if you look for something out of place, like a small electric module with a pair of loose hanging wires or without wires.

Then compare the front and back seats to look for something abnormal, and check the sides of the seats where the tracking device can be easily hidden.

Use the electronic sweeper.

The tracking devices are an essential part of spy movies and are readily available at surveillance supply retailers and online stores. An electronic sweeper is a device to check the radio frequency transmission or cellular signal transmission and exposes its existence to the electronic sweeper user.

The electronic sweeper is available in different sizes and shapes, like a pen that hides the small or cassette-shaped tape-sized unit. They can detect a wide range of radio frequencies and alert the user by nearly used signals with the audible sound, vibration r the flashing light.

The electronic sweeper can quickly run into your car and detect the tracking device. Similarly, the signal can suspect the tracking device by illuminating more light and changing its tone.

A light vibration can detect the tracking device by checking the radio frequency in the vehicle.

Get professional assistance

Most industry professionals aware of the electronic devices can offer you help looking at your car’s tracking devices.

  • Audio system technicians
  • Alarm system installers
  • Remote start installers

They can detect GPS tracking devices in many ways, as they have more knowledge of hiding spots and the appearance of the tracking devices.

Remove the tracking device.

When you find the tracking device in your car in any way, now is the step of removal of it. This process is straightforward, and these devices are battery-operated and do not come with wires.

If the tracking device has no wires, you have to disconnect it. On the other hand, if these are attached to the wires, you have to cut them or lose them.

Frequently Asked Questions

Is there any app to detect tracking devices in your car?

Tracker detects android users’ ability to scan for a RirTag or supported find allowed item trackers that may be roving with them without their information. As of yesterday, the Google Play store page for the app had many negative reviews.

What is the best way to check the tracking device in your car?

Slide the car in by putting a mat under it. Check the area for small objects, taped objects, or a mini antenna with a flask light that may be suspicious. Anything that does not look like the pat of your car can be a tracking device.

How can you check for a listening device?

Switch off your phone, and wait for the battery to cool. Monitor the temperature of the car battery after an hour or so. If the battery is still warm, you will have an unusual clicking or beeping sound.  

Conclusion

Looking at the above tips for detecting the tracking devices in your car can be overwhelming. Therefore, it is the job that is better to leave on behalf of professionals even if we have all the tools with us to deal with the issue. But if you cannot afford to hire a professional, you can quickly get the job done with additional effort and attention.